Creating Events
Once your selected venue:
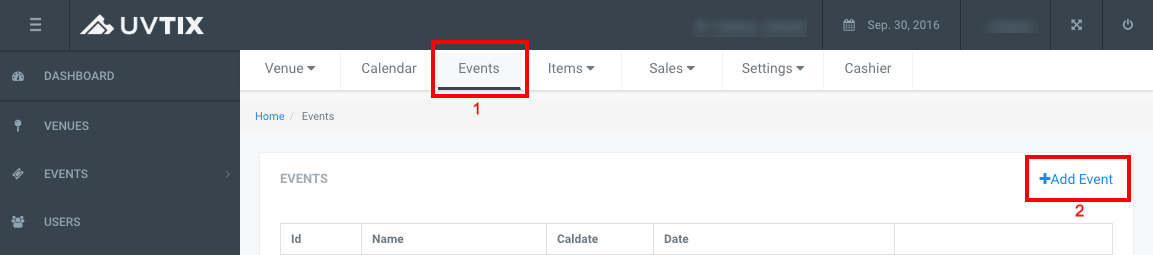
- Select the Events tab from the top Menu, and
- Click on +Add Event
A popup will open where you will be able to fill out all of your event's information:
1. Event Date: Click on the box to show the calendar and select a Month and a Day for your event. (Mandatory field) 2. Name: Enter a name for you event. (Mandatory field) 3. Room: If you have over one room added for your venue, you need to assign a room for the event being added. 4. Public Description: This is the text that will display on your website when guests access the event. (Optional field) 5. Private Description: This is only for internal use, you can include useful information here for your staff to see, such as instructions for a particular reservation type. For example "Comped bottle on table reservations for over 10 guests accessing the event before 11pm". (Optional field) 6. Short Description: This is for when the event will be promoted on facebook, in order for this description to be optimal within facebook it has to be a very brief and clear description of no more than two lines of information. (Optional field) 7. Start Time: The time that the event will begin, this information will be displayed in your website event page. (Mandatory field) 8. End Time: The time that the event will end, this information could be displayed in your website event page if desired. (Optional field) 9. Doors Open and Doors Close: These fields can be used to enter the time the venue will open, and the time you will stop admitting guests. This information will display on the Terms sent in the email with the guest's ticket, and on the Terms of the ticket itself. It is mostly used for Guest List item types. (Optional field) 10. Release Date and Time: If you do not wish for the added event to display on your website immediately after you add it, you can also set a specific date and time for it to be released. (Optional field) 11. Private Event checkbox: By checking this option your event will not display on your website but will be present in the system with all added items, this could be used for Private Parties, or also instead of the option above 'Release Date and Time'. (Optional) Allow Inquiries checkbox: With this option you may choose whether or not you will be taking 'Guest List' or 'Bottle Service' requests through your online forms. (Optional) 12. Type: Every event must be assigned with a type, from this list you may choose accordingly from different types of event, such as Daylife, Nightlife, Concert, After Hours, Holiday, etc. (Mandatory field) 13. Priority: This field allows you to choose a display priority for your event on the website's calendar, carousel, or slide, if any is present. (Optional field) 14. Tickets URL: Here you can enter your ticket's site URL, if different from your website's. (Optional) Promo Video URL: If you have a promotional video for your Event, you can enter the address here. (Optional)
After you have entered all information for this event, click on Save, this will take you to the following options:
On the top menu of the popup you will be able to edit:
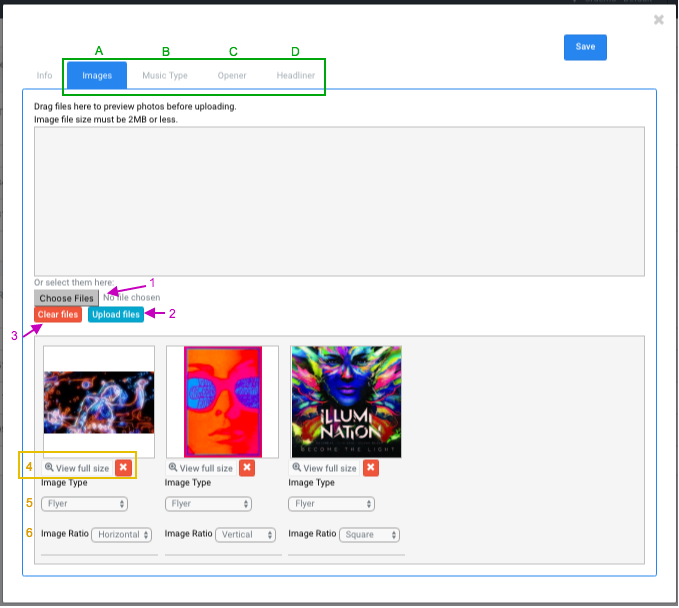
A: Images, which are the flyers for your event. These must be uploaded here in order to display in your site's calendar, event page, carousel, and slider, if present. All added images must be 2MB or less to be uploaded correctly.
- Choose files: Click here to select the images from your computer.
- Upload files: After you have selected all the images to be uploaded, you must click on this button in order to add them to your event's information.
- Clear files: You may delete the images you chose, in the event you need to make a correction, but only before clicking on Upload files.
- View full size: To visualize your images as they will display once uploaded. After uploading the files, if you wish to remove them to make any corrections, you can click on the X red button to delete them.
- Image Type: From this dropdown you can choose they type of image you uploaded, this is a mandatory field - choosing the wrong type of file, or no type at all, may cause the images to either not display or display incorrectly on your website. For events, the image type needed will be 'Flyer'.
- Image Ratio: From this drowpdown you can choose the correct ratio for every image you uploaded: Horizontal, Vertical, Square, depending on the orientation. As with the image type, choosing the wrong ratio may cause the images to either not display or display incorrectly on your website.
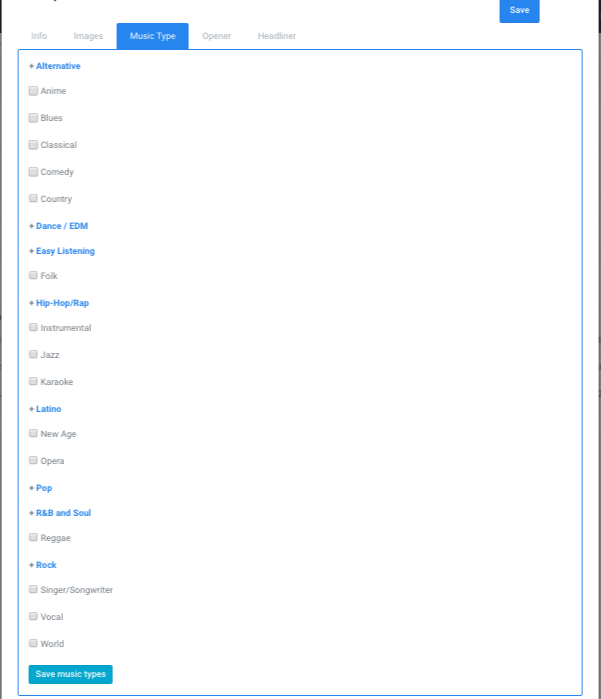
B: Music Type, if desired, you may select the type of music that will be played during the event from the list present.
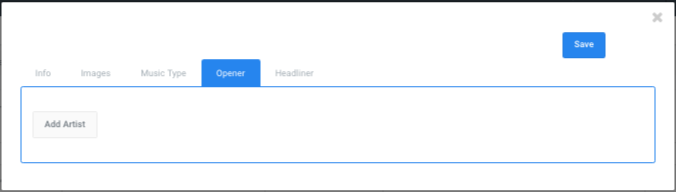
C: Opener, if you have added Resident DJs, you may choose from this list here, by clicking on Add Artist to select as opener for you event. (Optional field)
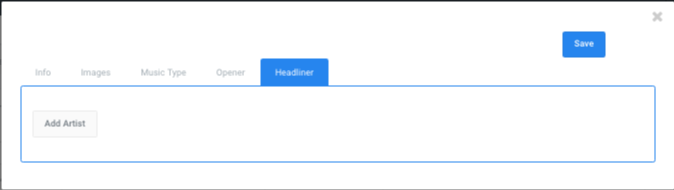
D: Headliner, if you have added Resident DJs, you may choose from this list here, by clicking on Add Artist to select as your event's Headliner. (Optional field)