Creating/Managing Items
- Click on the left hand tab that says “UvTix”

- Click on the left hand tab that says “Venues”

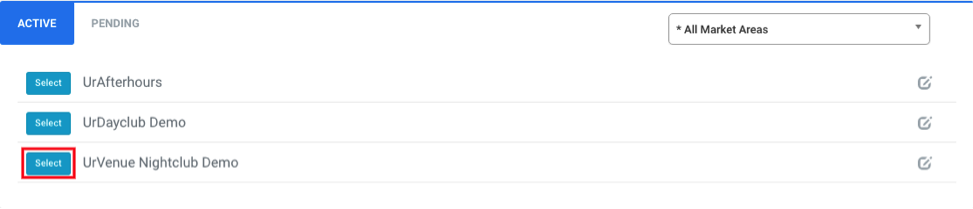
You will see all the configured venues for your account
- Click on “Select” next to the venue you will be focusing on.
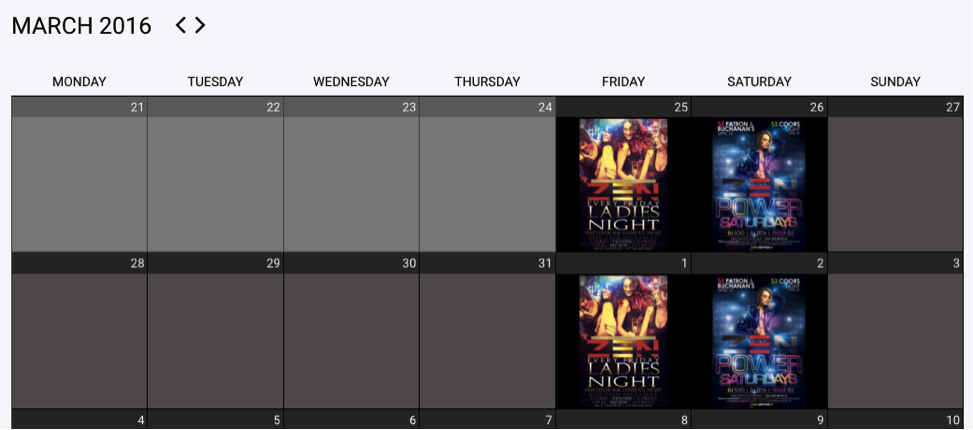
 You will see calendar with programed events.
- Select the date you will be focusing on.
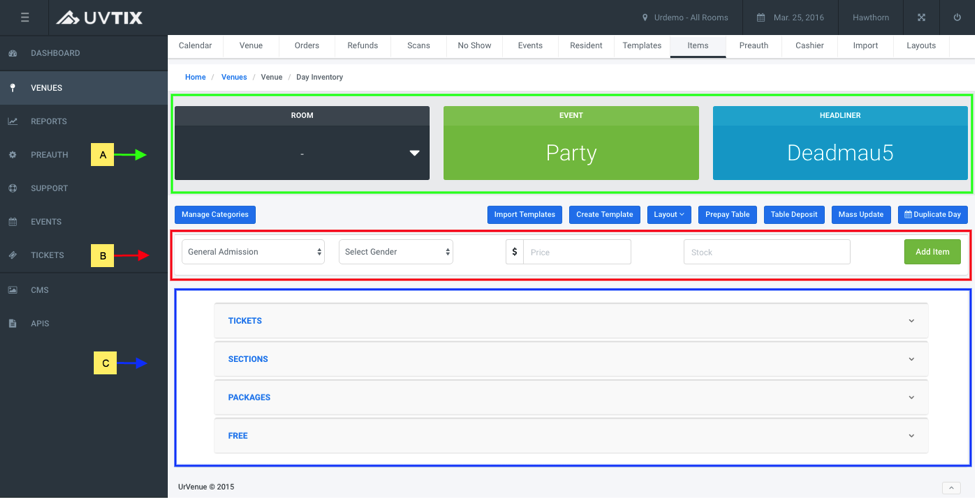
 Once you select a date you will see the “Items” screen.
On this page you will be able to manage all the items for this specific date.
You will see:
Once you select a date you will see the “Items” screen.
On this page you will be able to manage all the items for this specific date.
You will see:
A.) Date Summary: Pricing Template/Tier, Event Info, The Headliner (Green).
B.) New Item Form: the needed fields to create a new Item (Red).
C.) Created Items: all the Items that have been created for that date (Blue).
 In order to create a new Item you will need to fill out the following fields.
A.) Item Type: General Admission, Table Deposit, Package etc.
B.) Gender: If the ticket is for a specific gender.
C.) Price: Pricing detail of the item.
D.) Stock: Amount of tickets that will be available for sale.
E.) Add Item: Final Step to creating item.
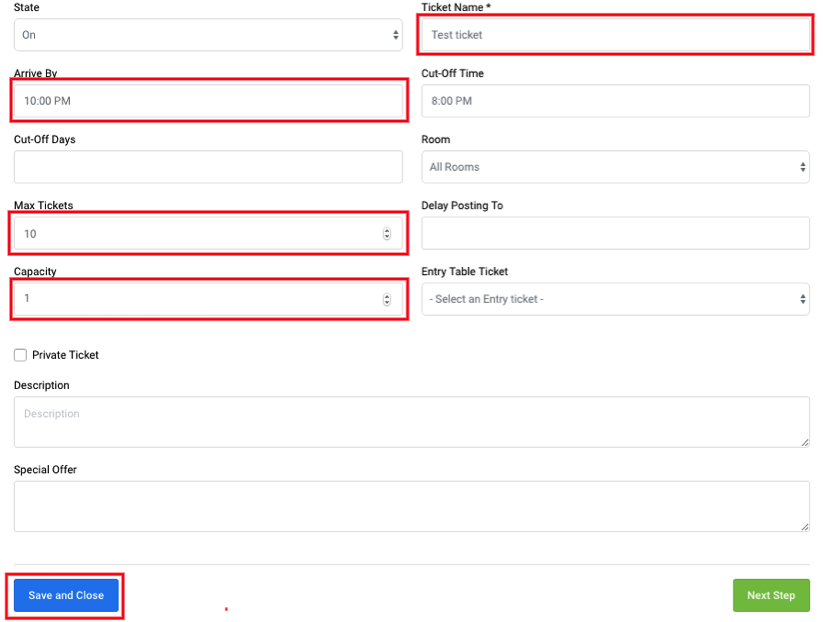
 After you click “Add Item” you will see a form popup where you can see all of the item’s details, you will need to include the missing information.
- Enter the item name.
- Enter Max tickets (how many tickets can be purchased in a single transaction).
- Enter Arrive By (the arrival time you would like displayed on the ticket).
- Enter Capacity (how many guests can enter with this item).
- Enter any additional information that may be needed.
- Once done click ”Save and Close” .
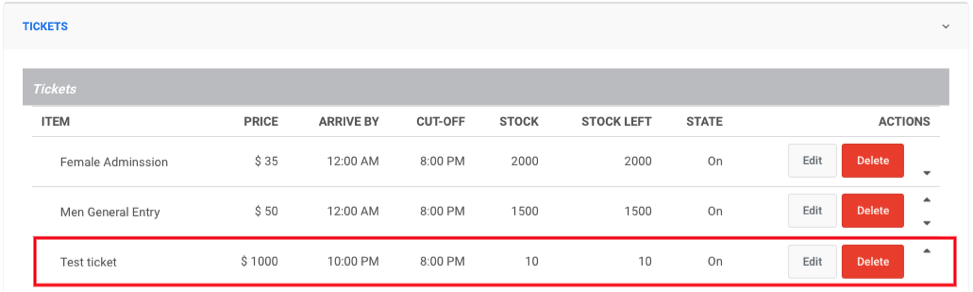
You can see the created item by scrolling down and selecting the section and then the item.