Pre-Auth Requests through UrVenue App (Staff)
To make a Pre-Auth Request using the UrVenue App, you will need to access your UV Account from the app, select the venue and date you will be entering the request for, and follow the next steps:
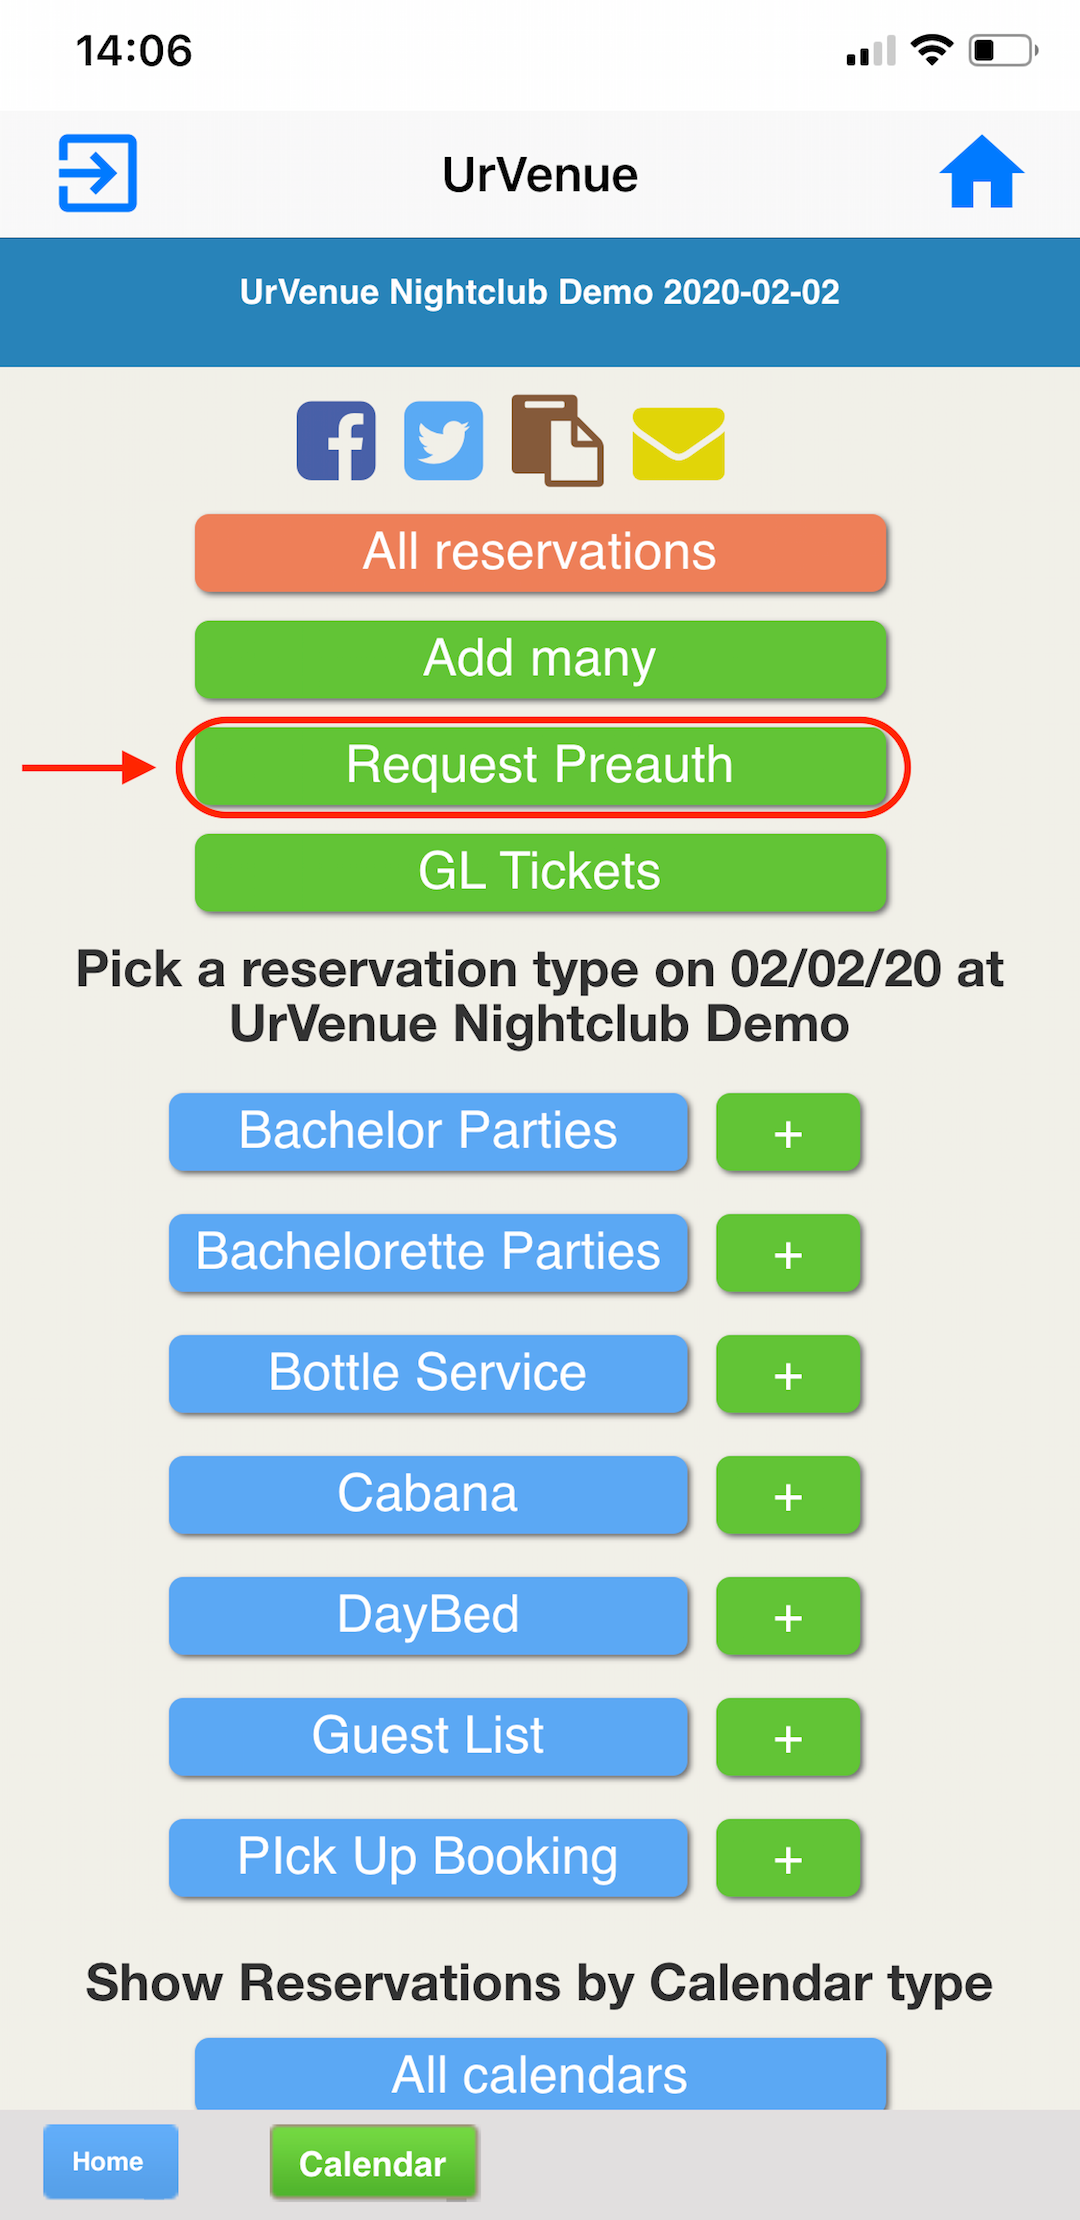
- Click on the Request PreAuth button:
| Android | iOS |
|---|---|
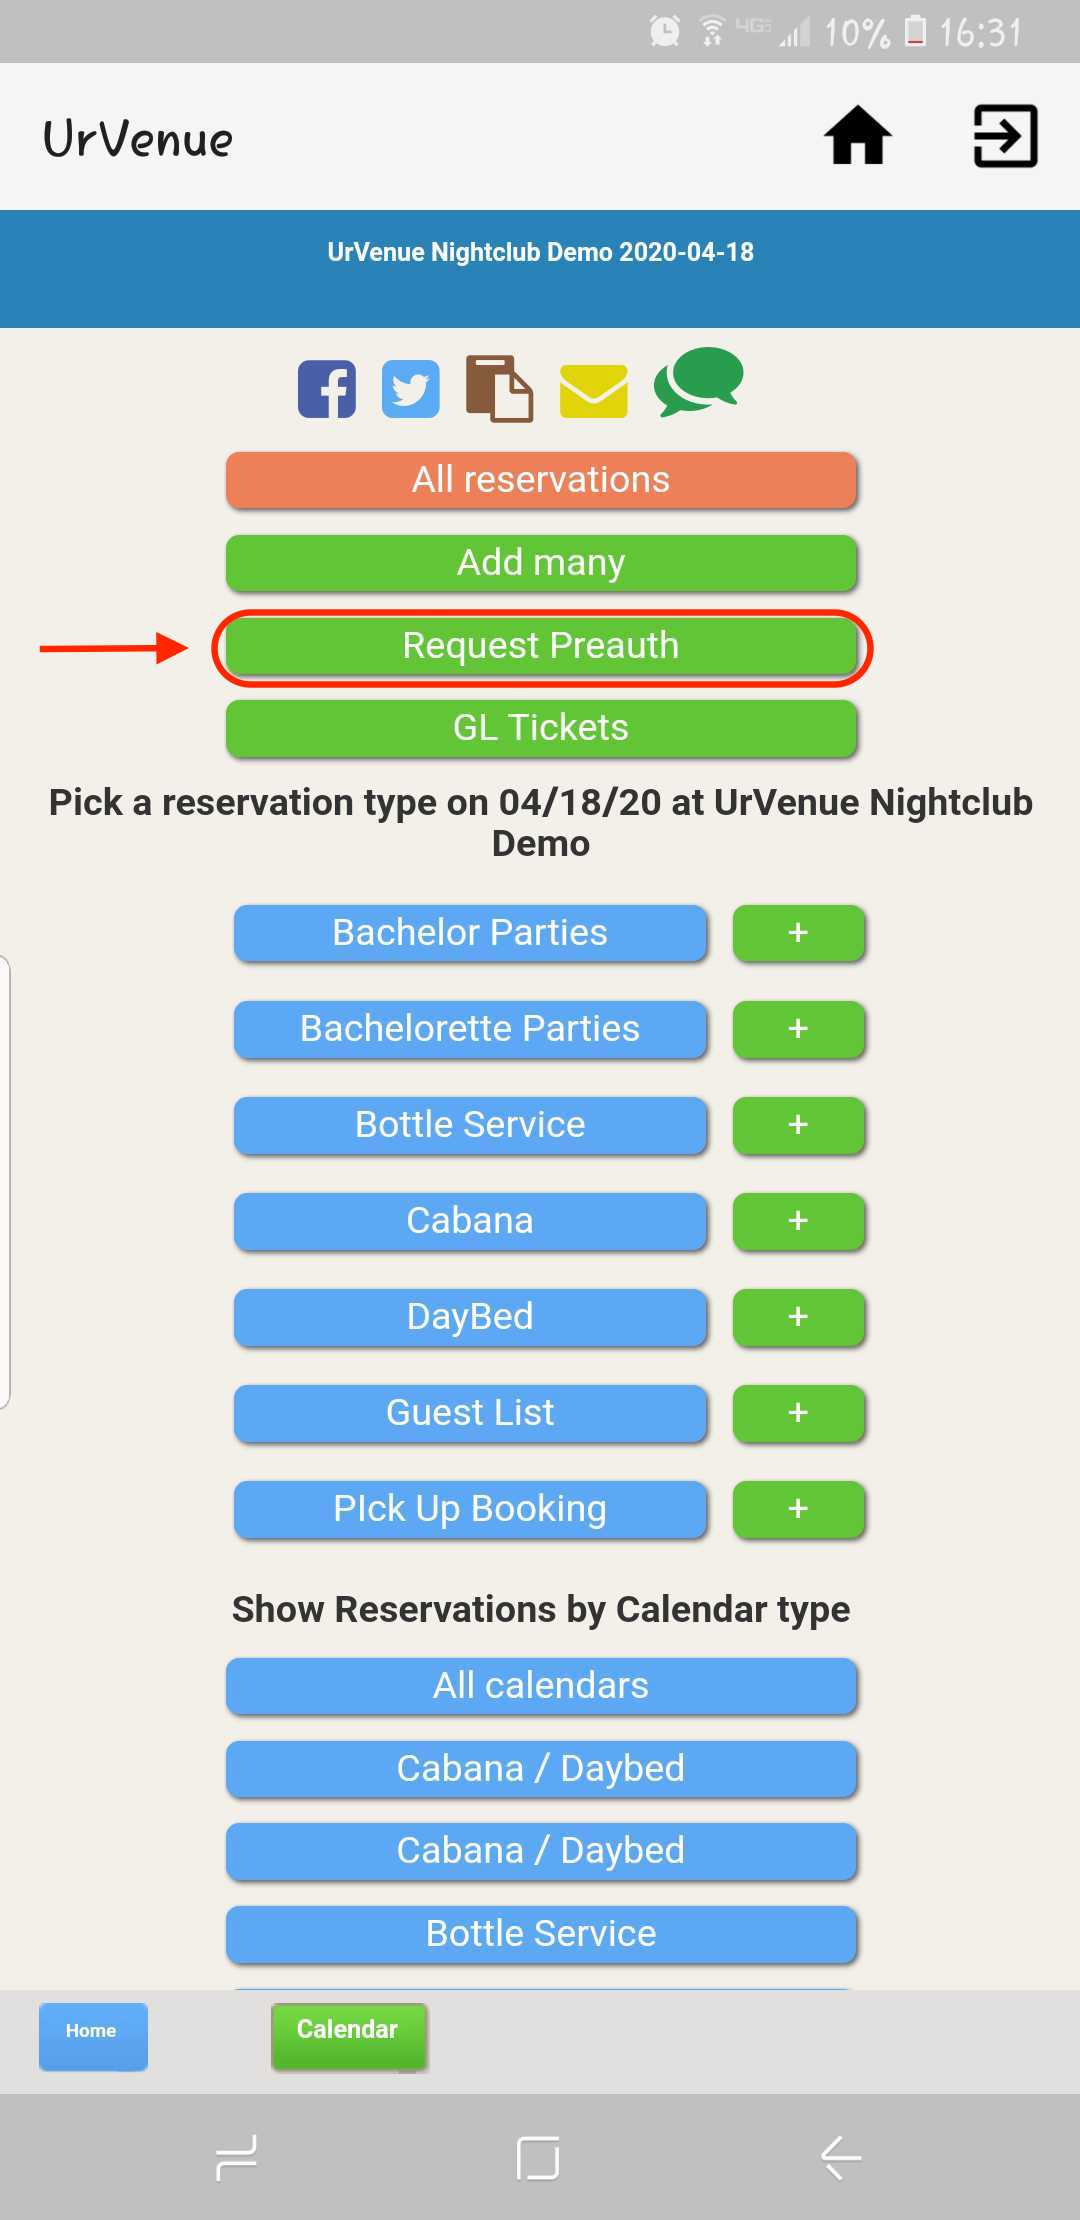 |
 |
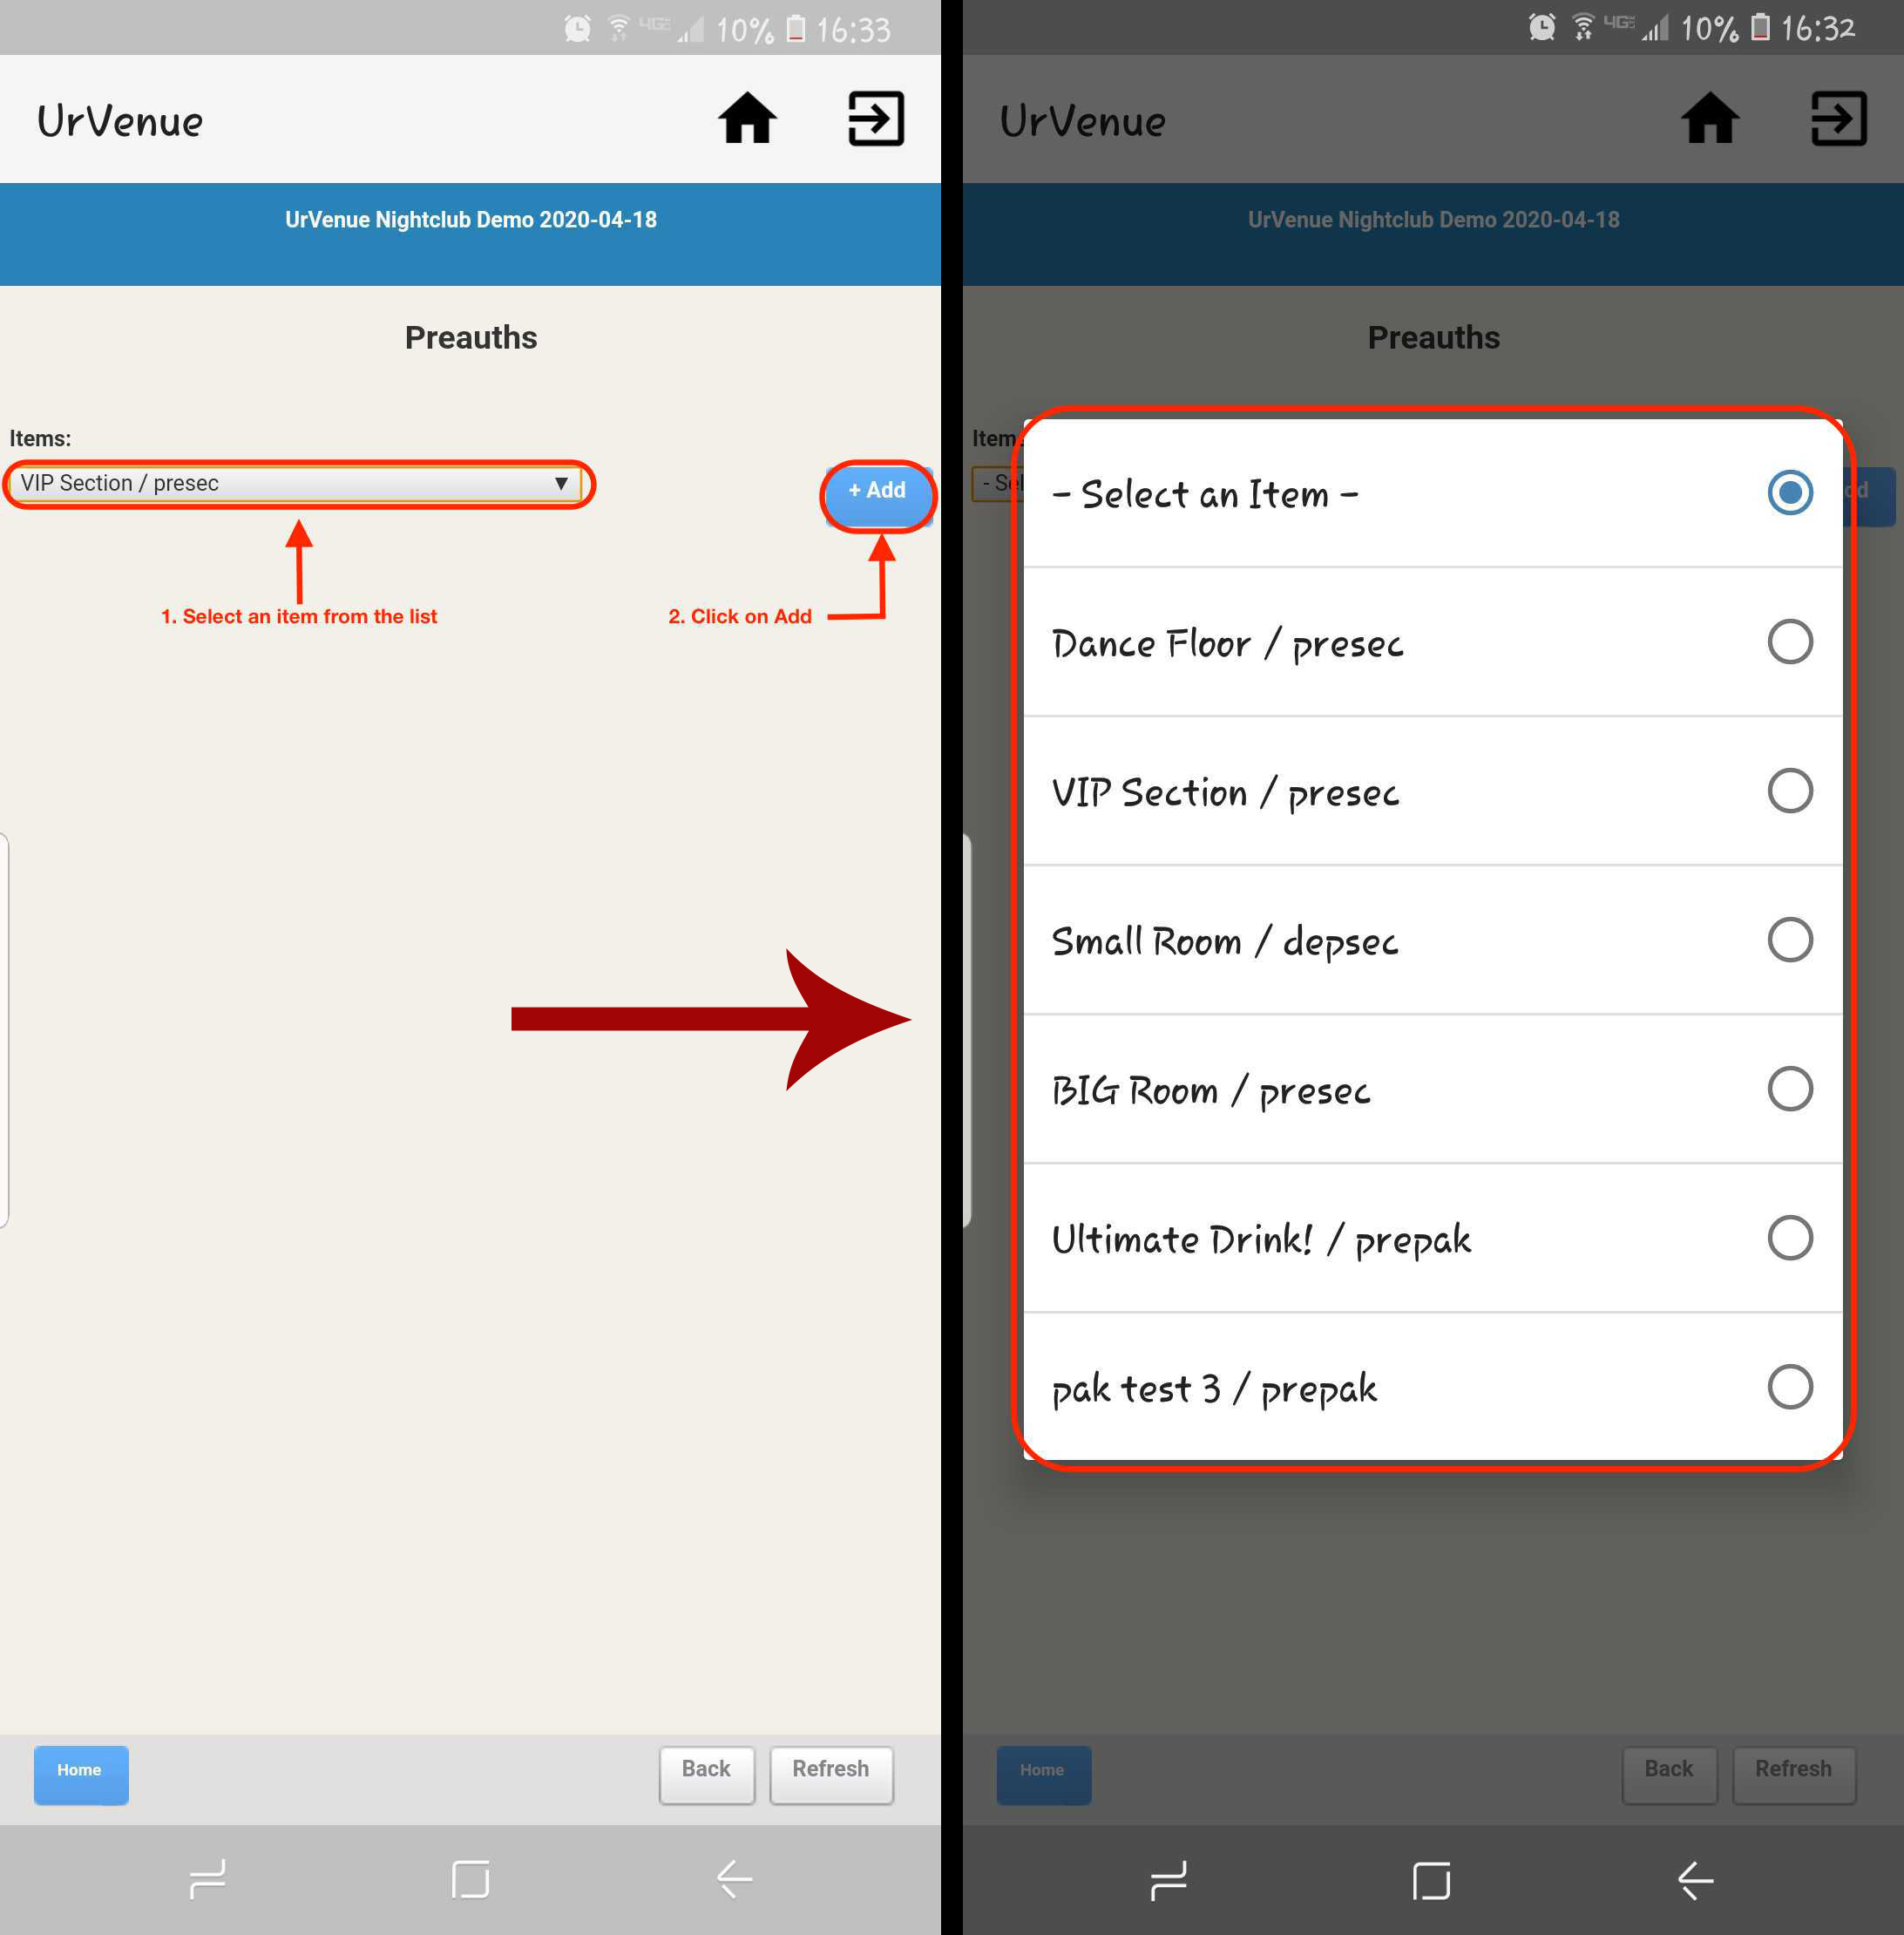
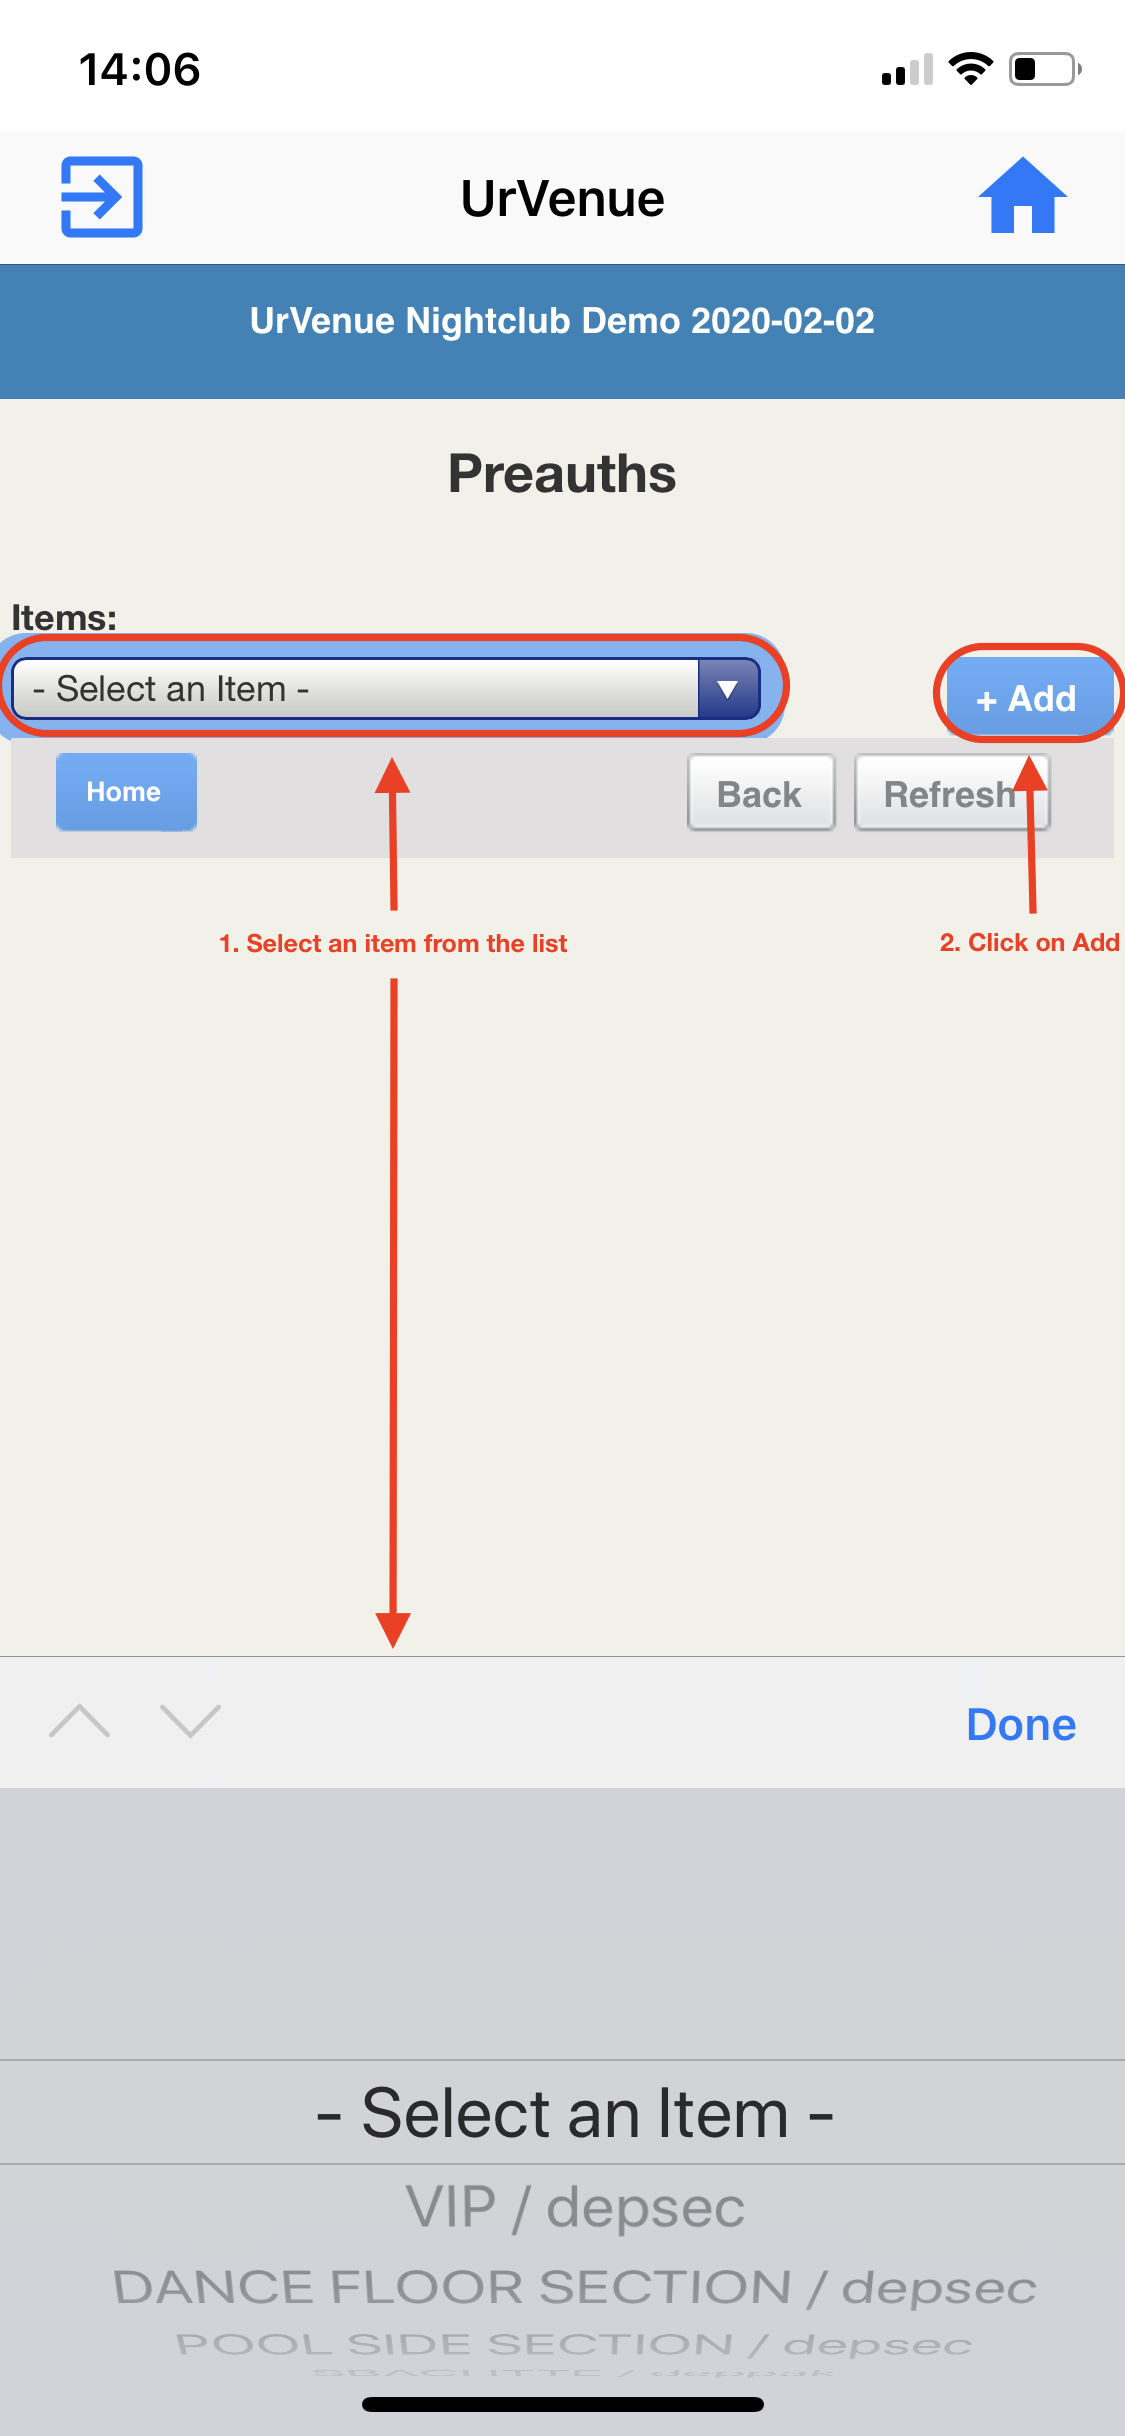
- On the next screen you must select an Item from the dropdown (which has to be the section, table, or package from which your reservation will be spawned), and click on Add
Note that there needs to be items added to the date you choose, otherwise you won't be able to create the Pre-Auth
Android |
iOS |
|---|---|
 |
 |
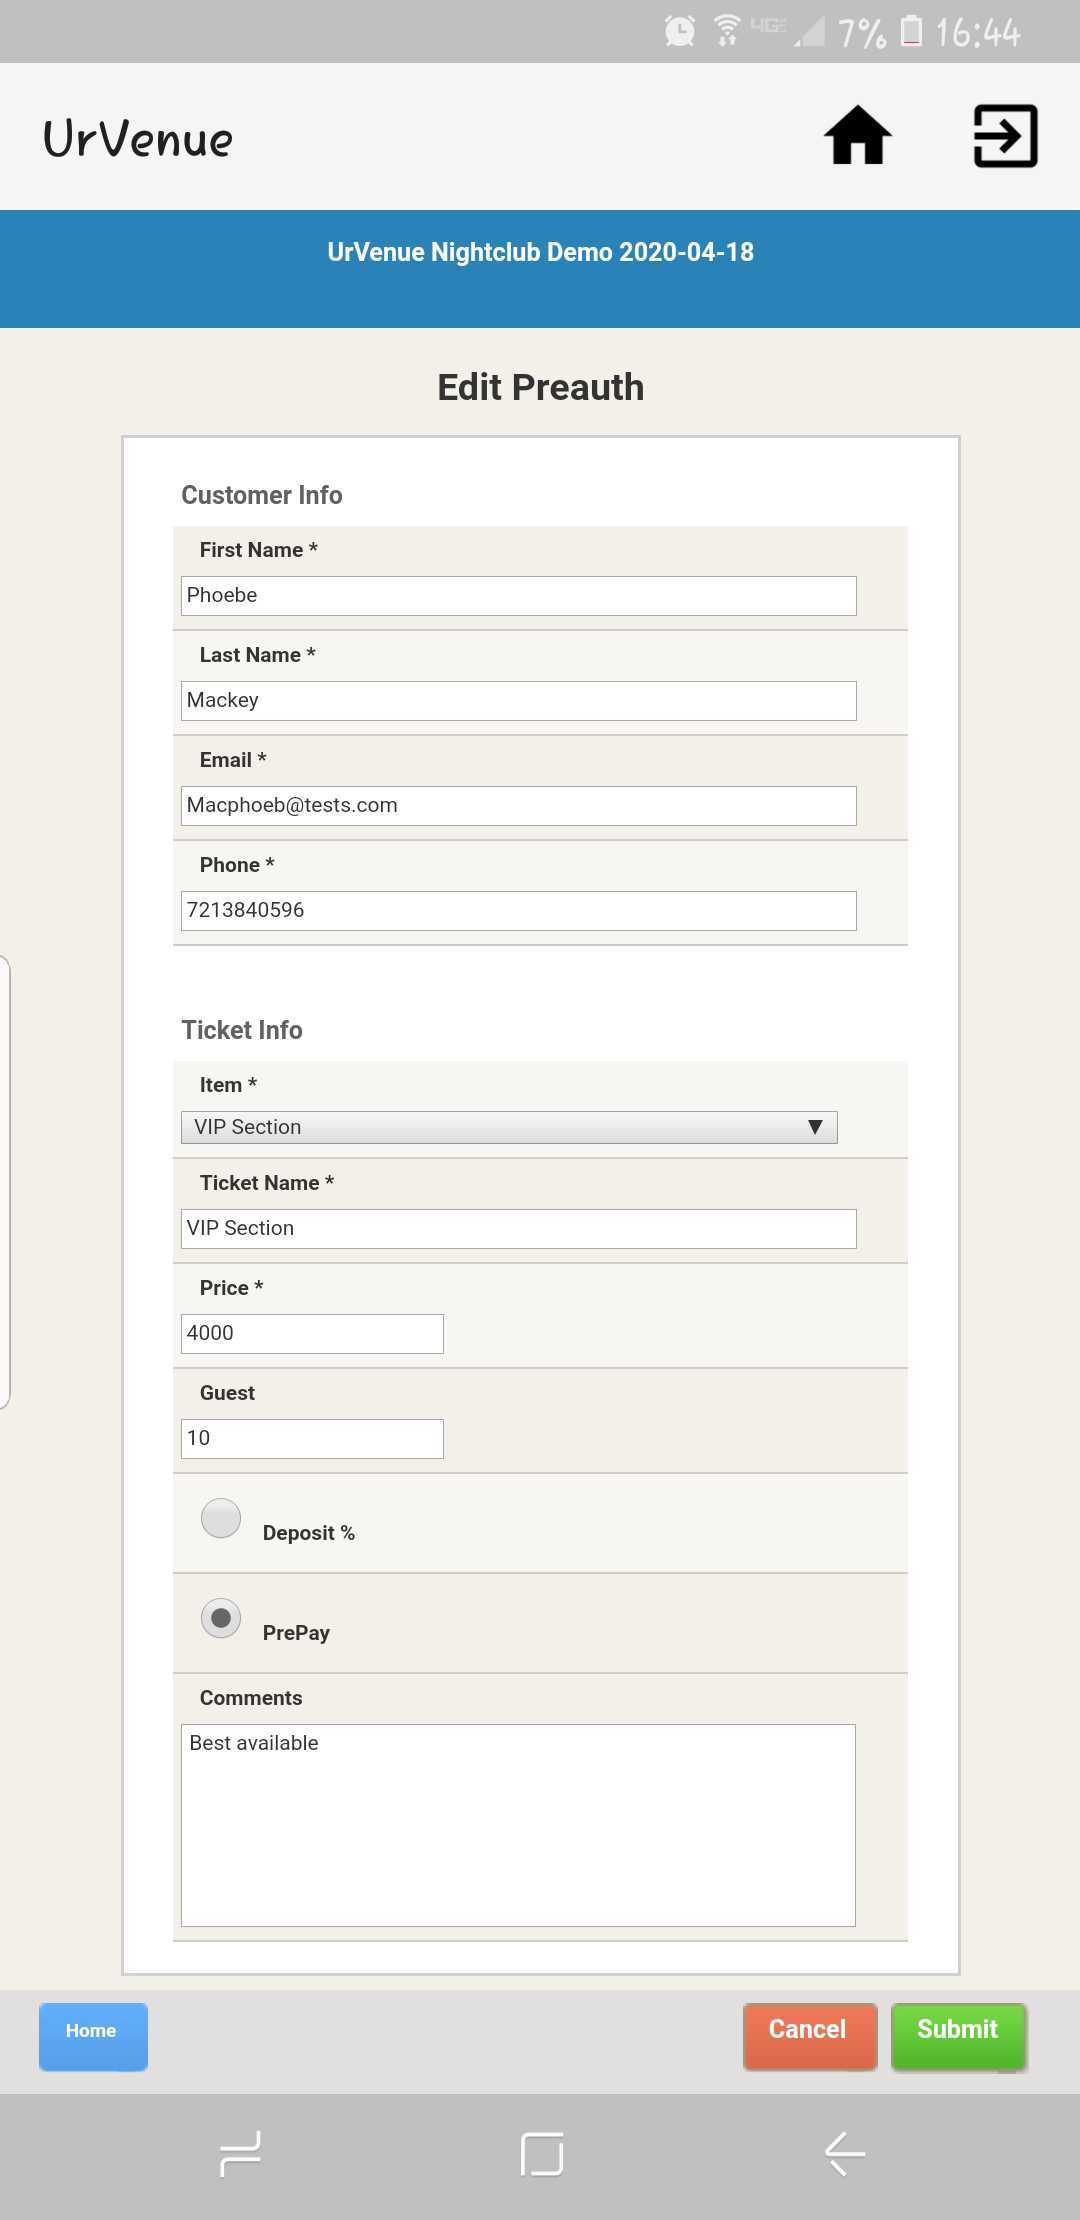
- Upon selecting the item to add, you will get the Pre-Auth Form below:
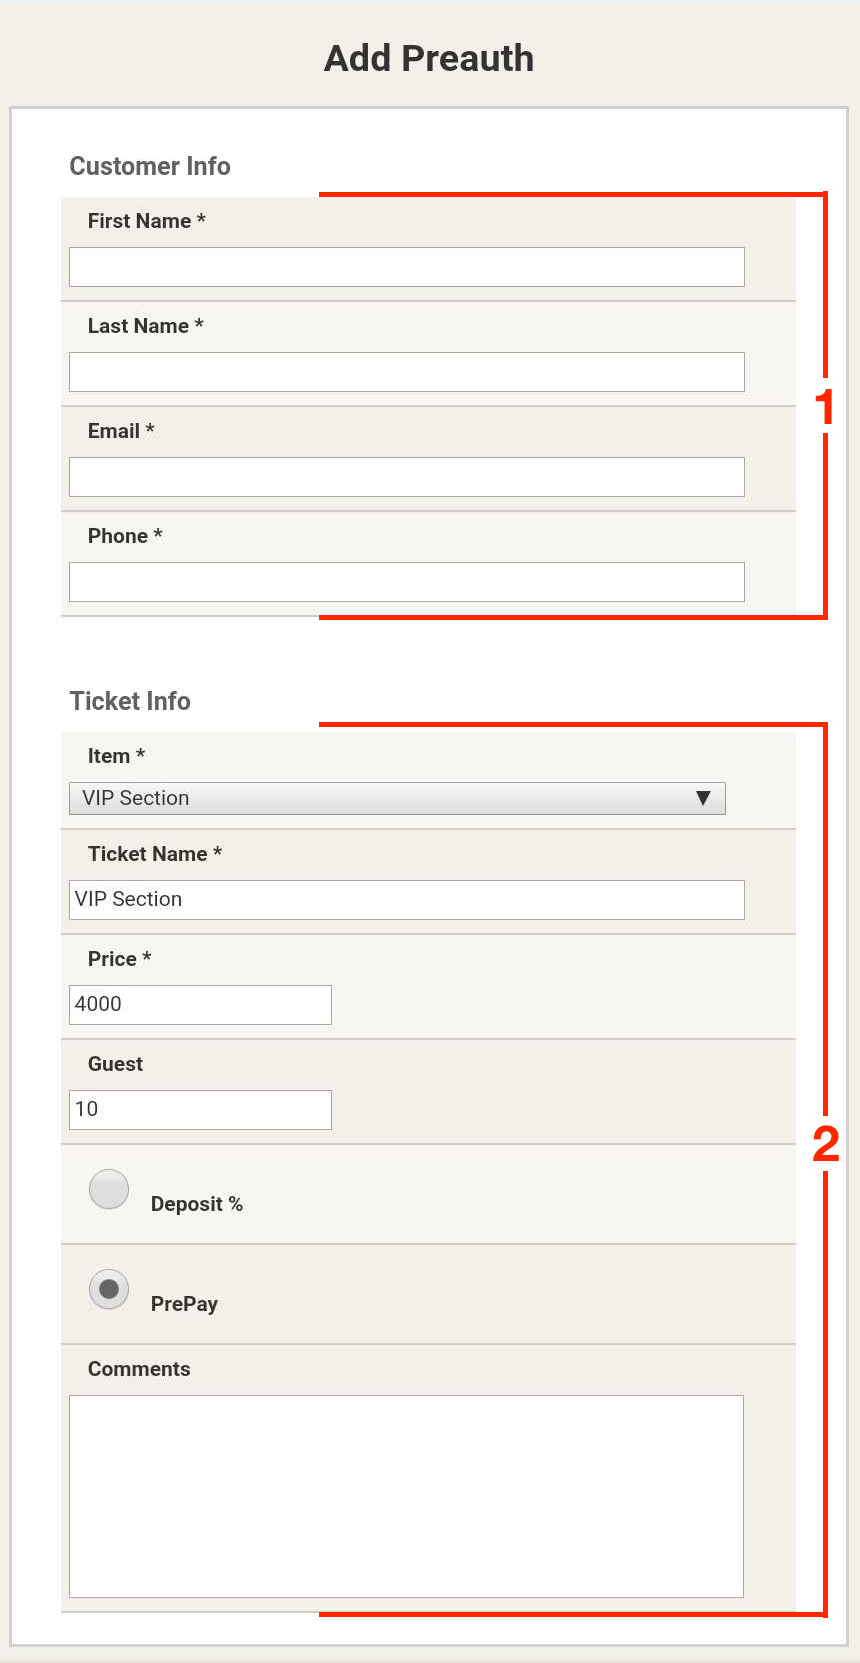
The form consists of the following sections:
- Customer Information: Guest's First and Last Name, email address (which is the address where your guest will receive the url to pay online for the booking) and phone number.
- Ticket Information: This is the chosen section/table information, where you can check/modify the following:
- Item: If you want to change the section from which you will generate the link.
- Ticket Name: This is the name of the Table or Section, it can be changed if necessary.
- Price (Minimum Spend or Rental Fee)
- Guest Quantity
- Payment Options: At the bottom you can choose whether your customer will pay in full (PrePay), or if they will be required to only cover a percentage (Deposit %). If you choose Deposit, a text box will display next to the option where the percentage to be paid by the customer can be entered/modified.
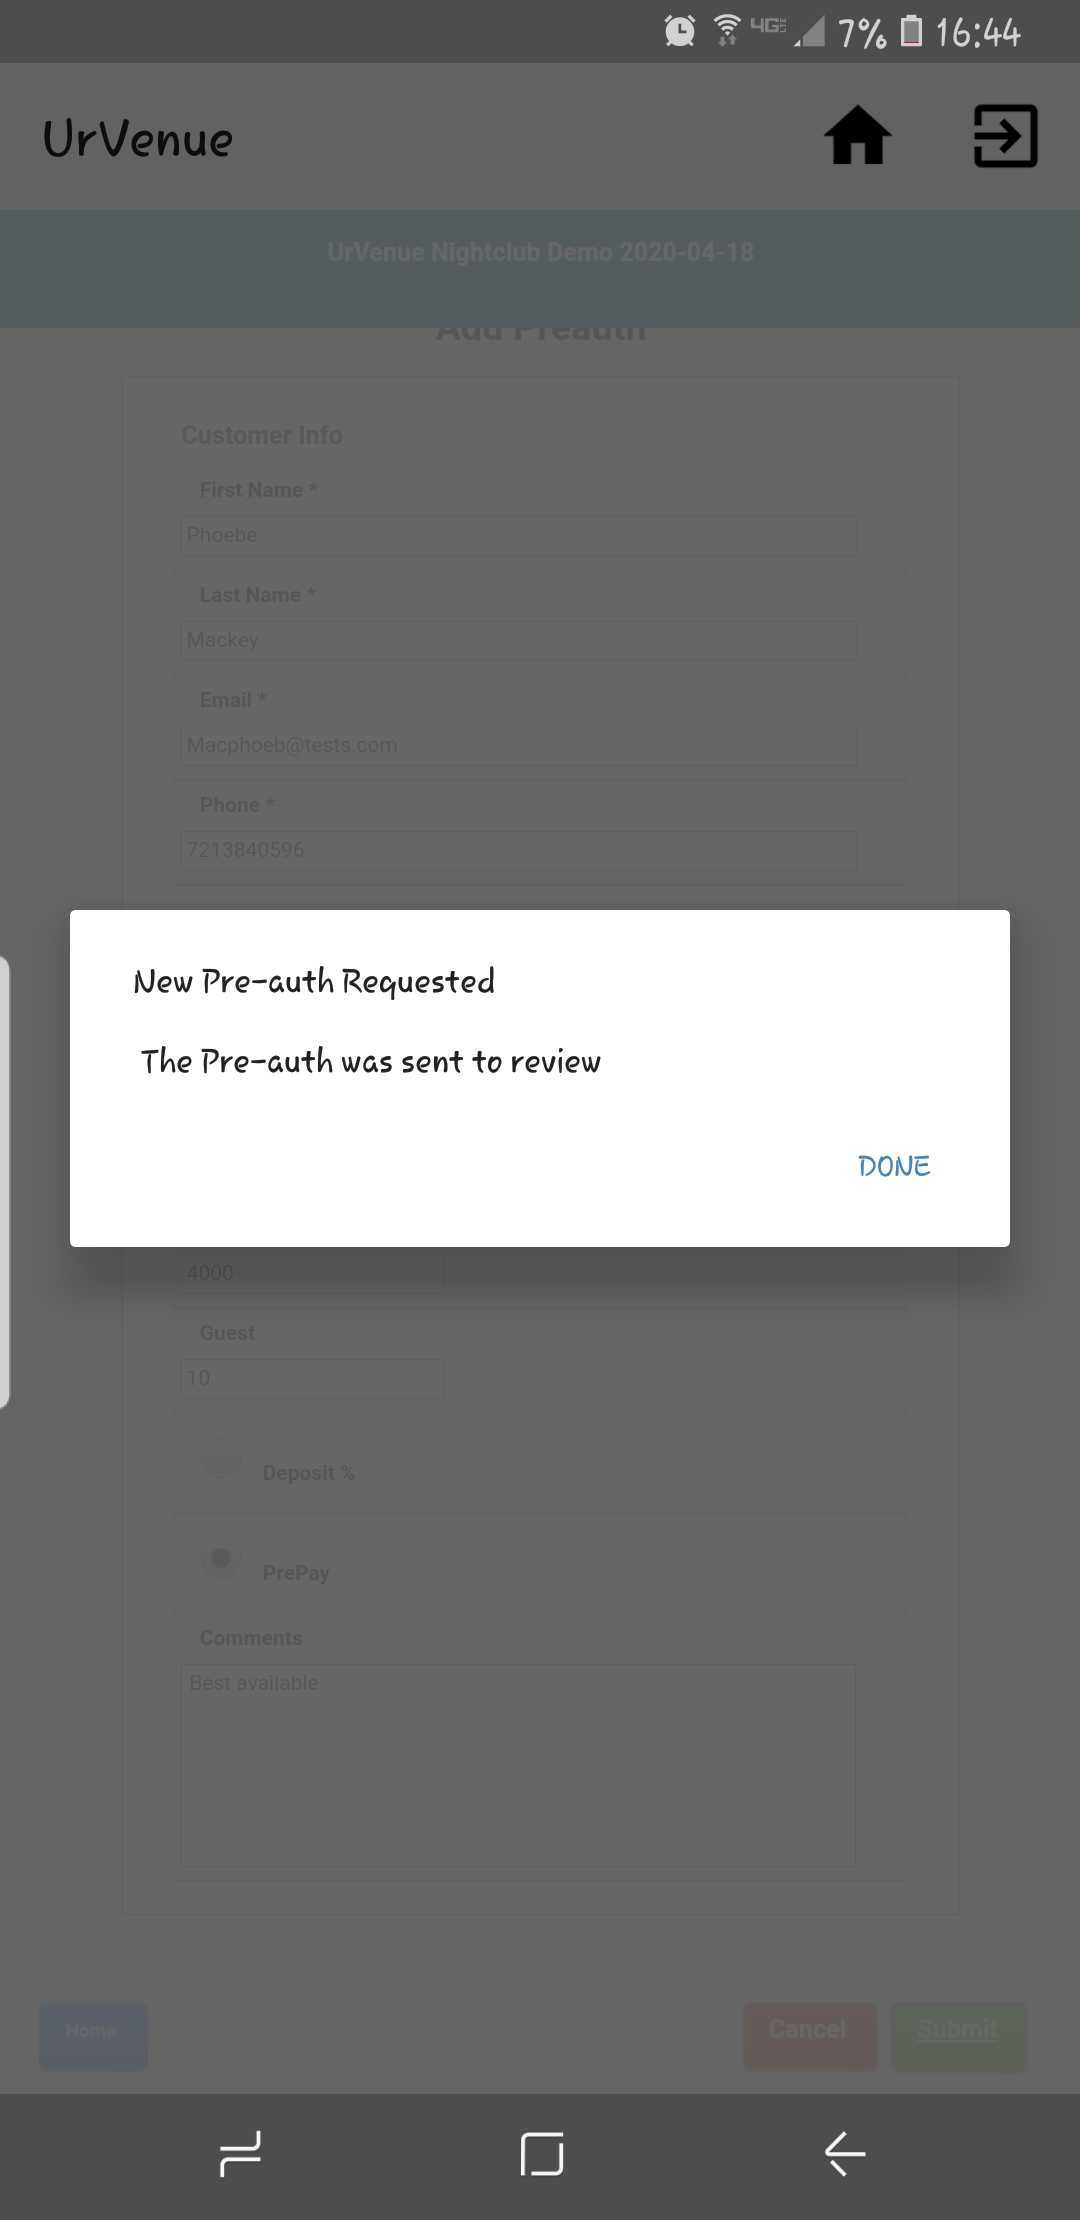
After all information has been filled, you can click on Submit to send the Request.
Android |
iOS |
|---|---|
 |
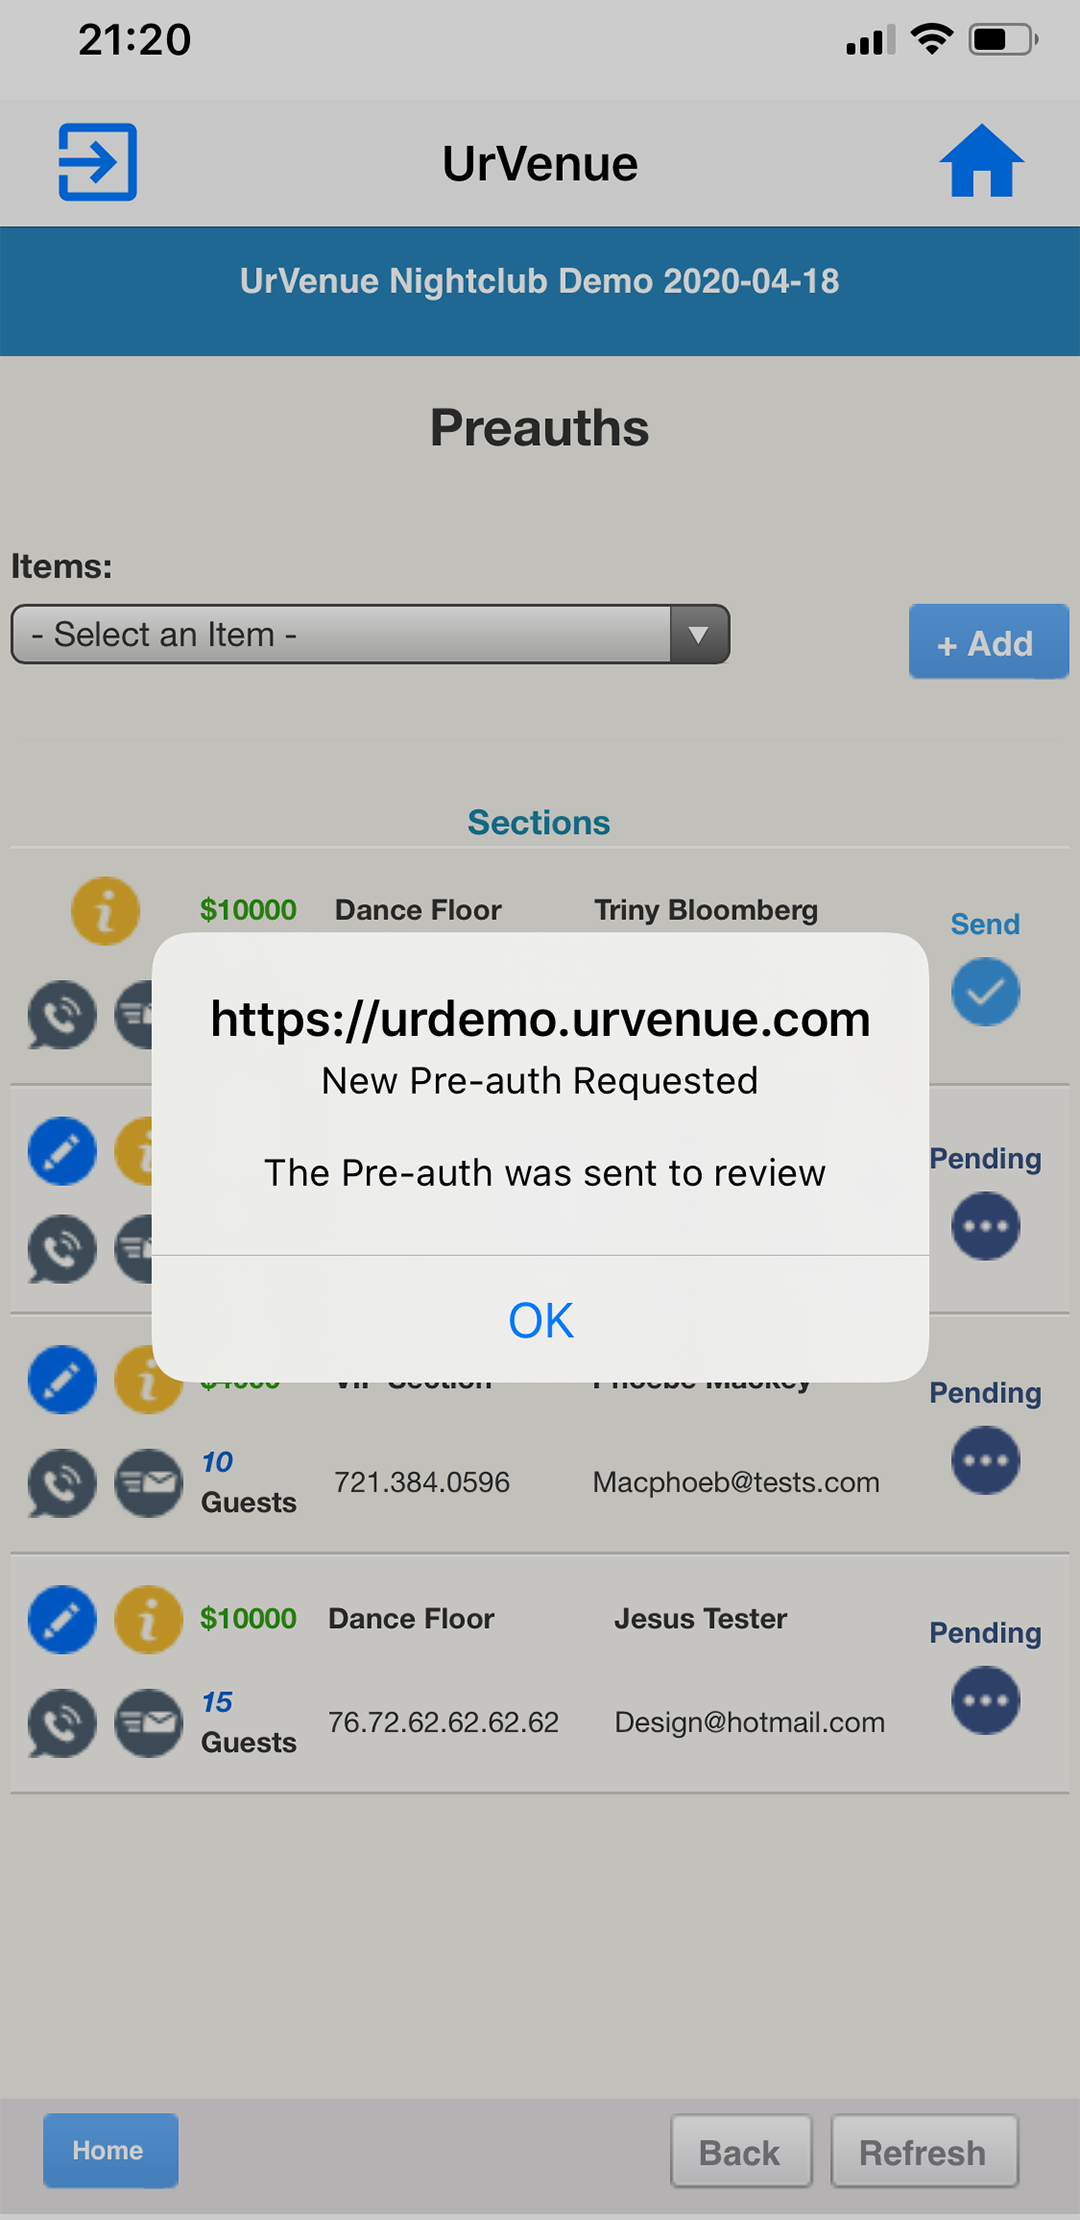 |
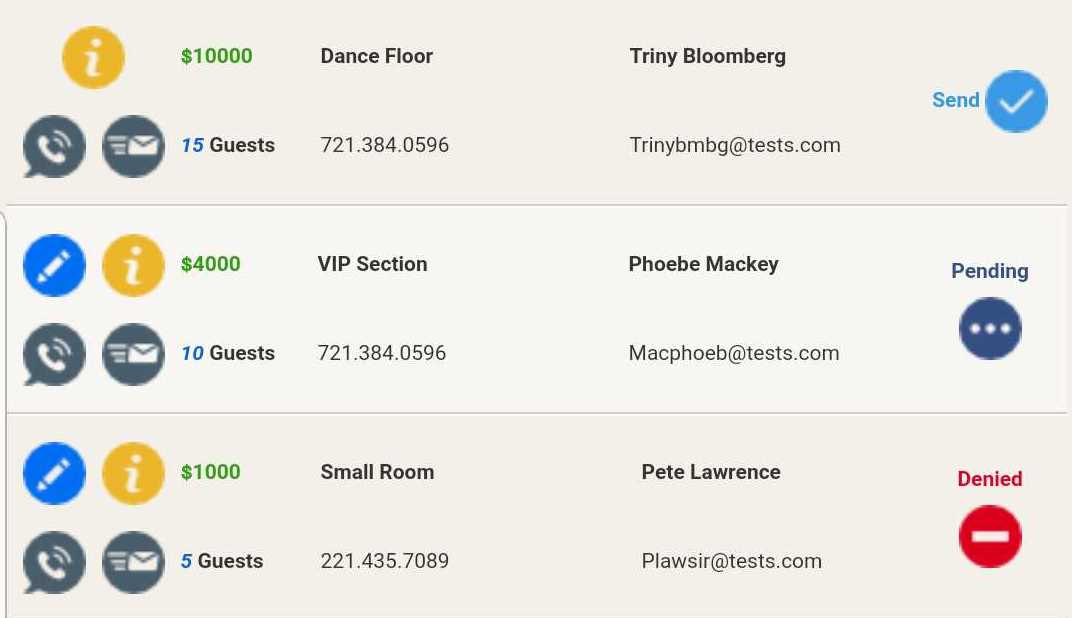
All the requests that you submit will appear listed in here, and you will be able to review its status as well as the customer's information.
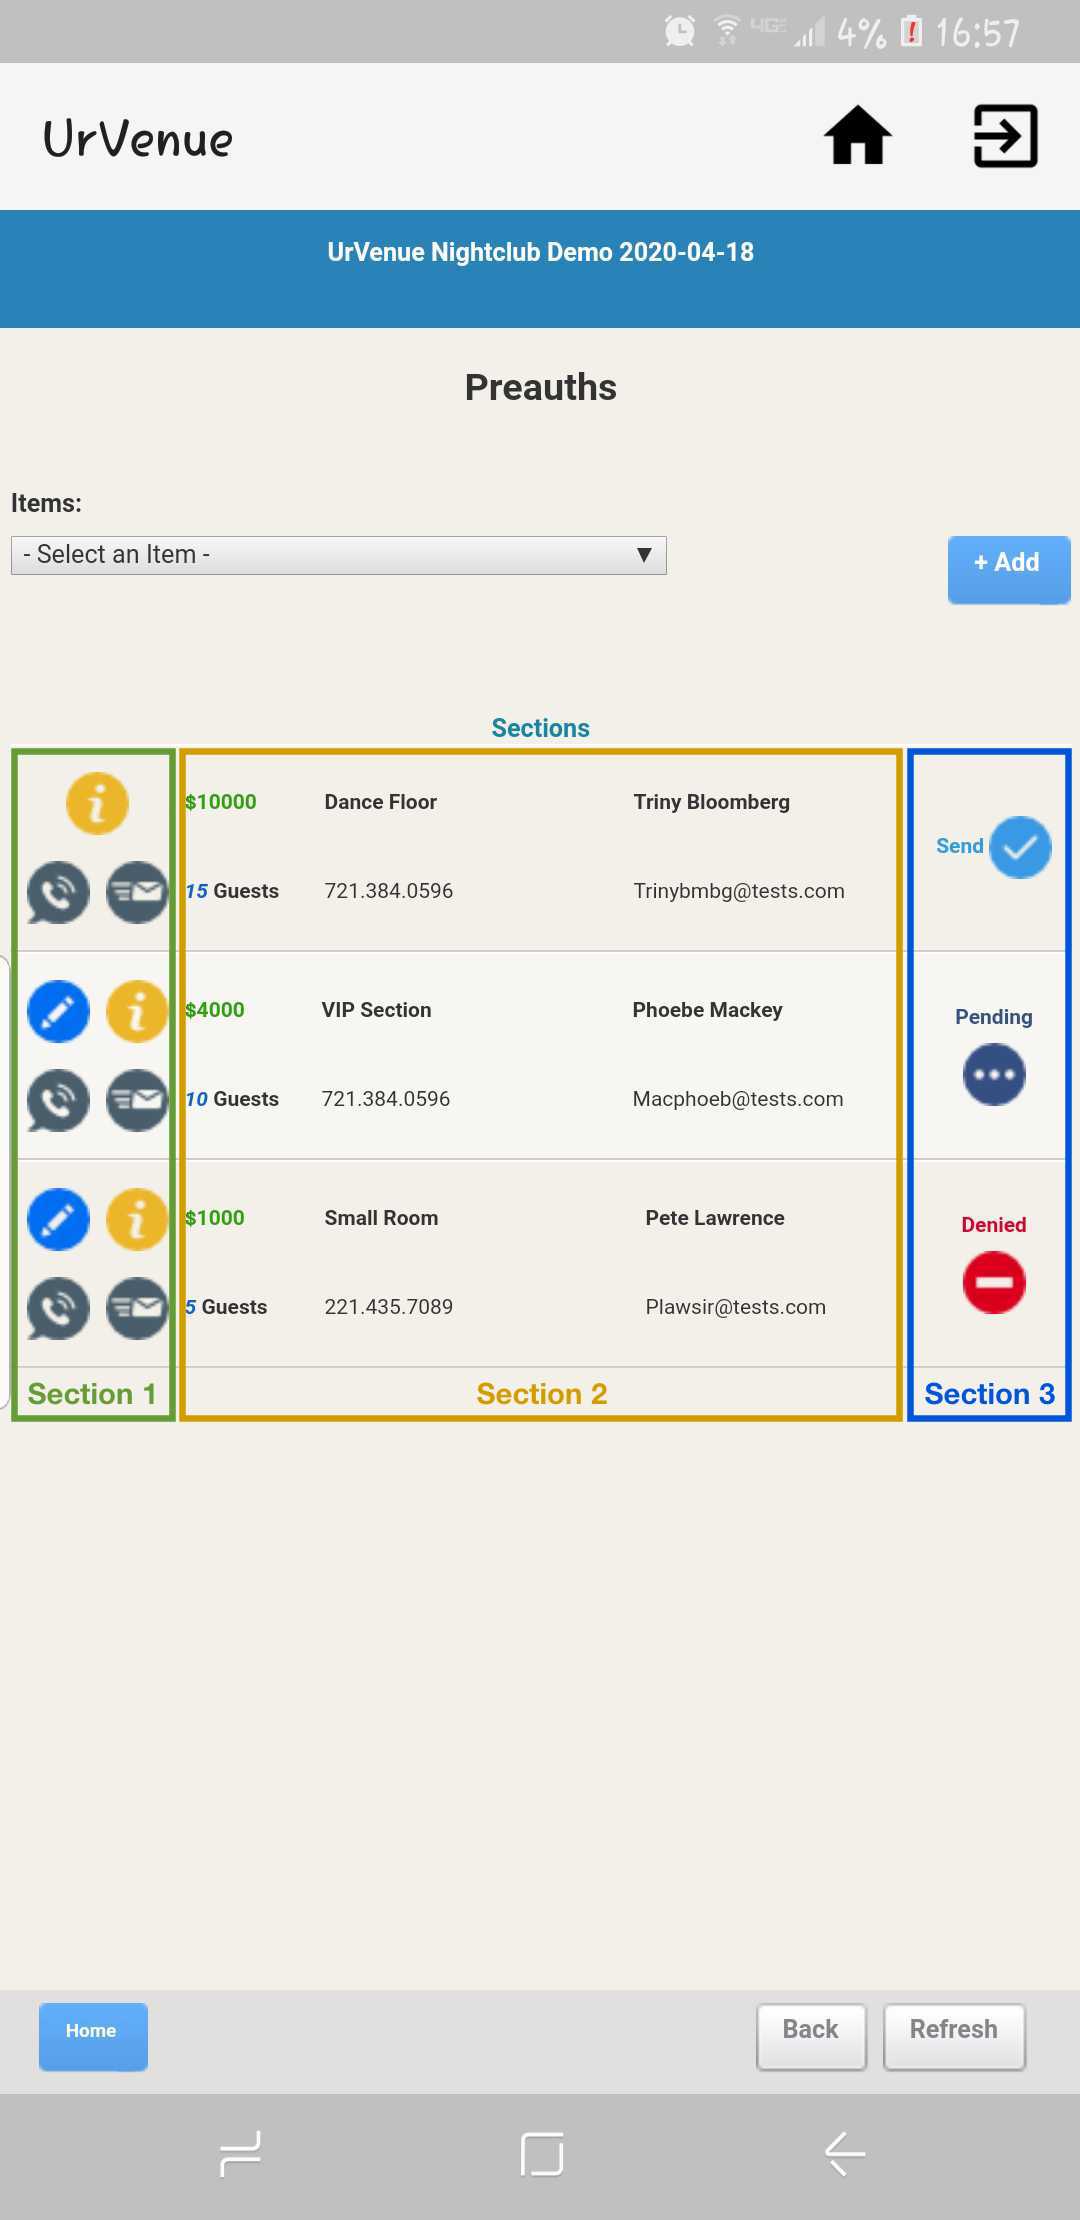
We can break the information displayed into three main sections:
Section 1:
| Icon | Action |
|---|---|
 |
Edit: Allows you to modify all information entered in the form. (You can only do this before the reservation is Approved by Management) |
 |
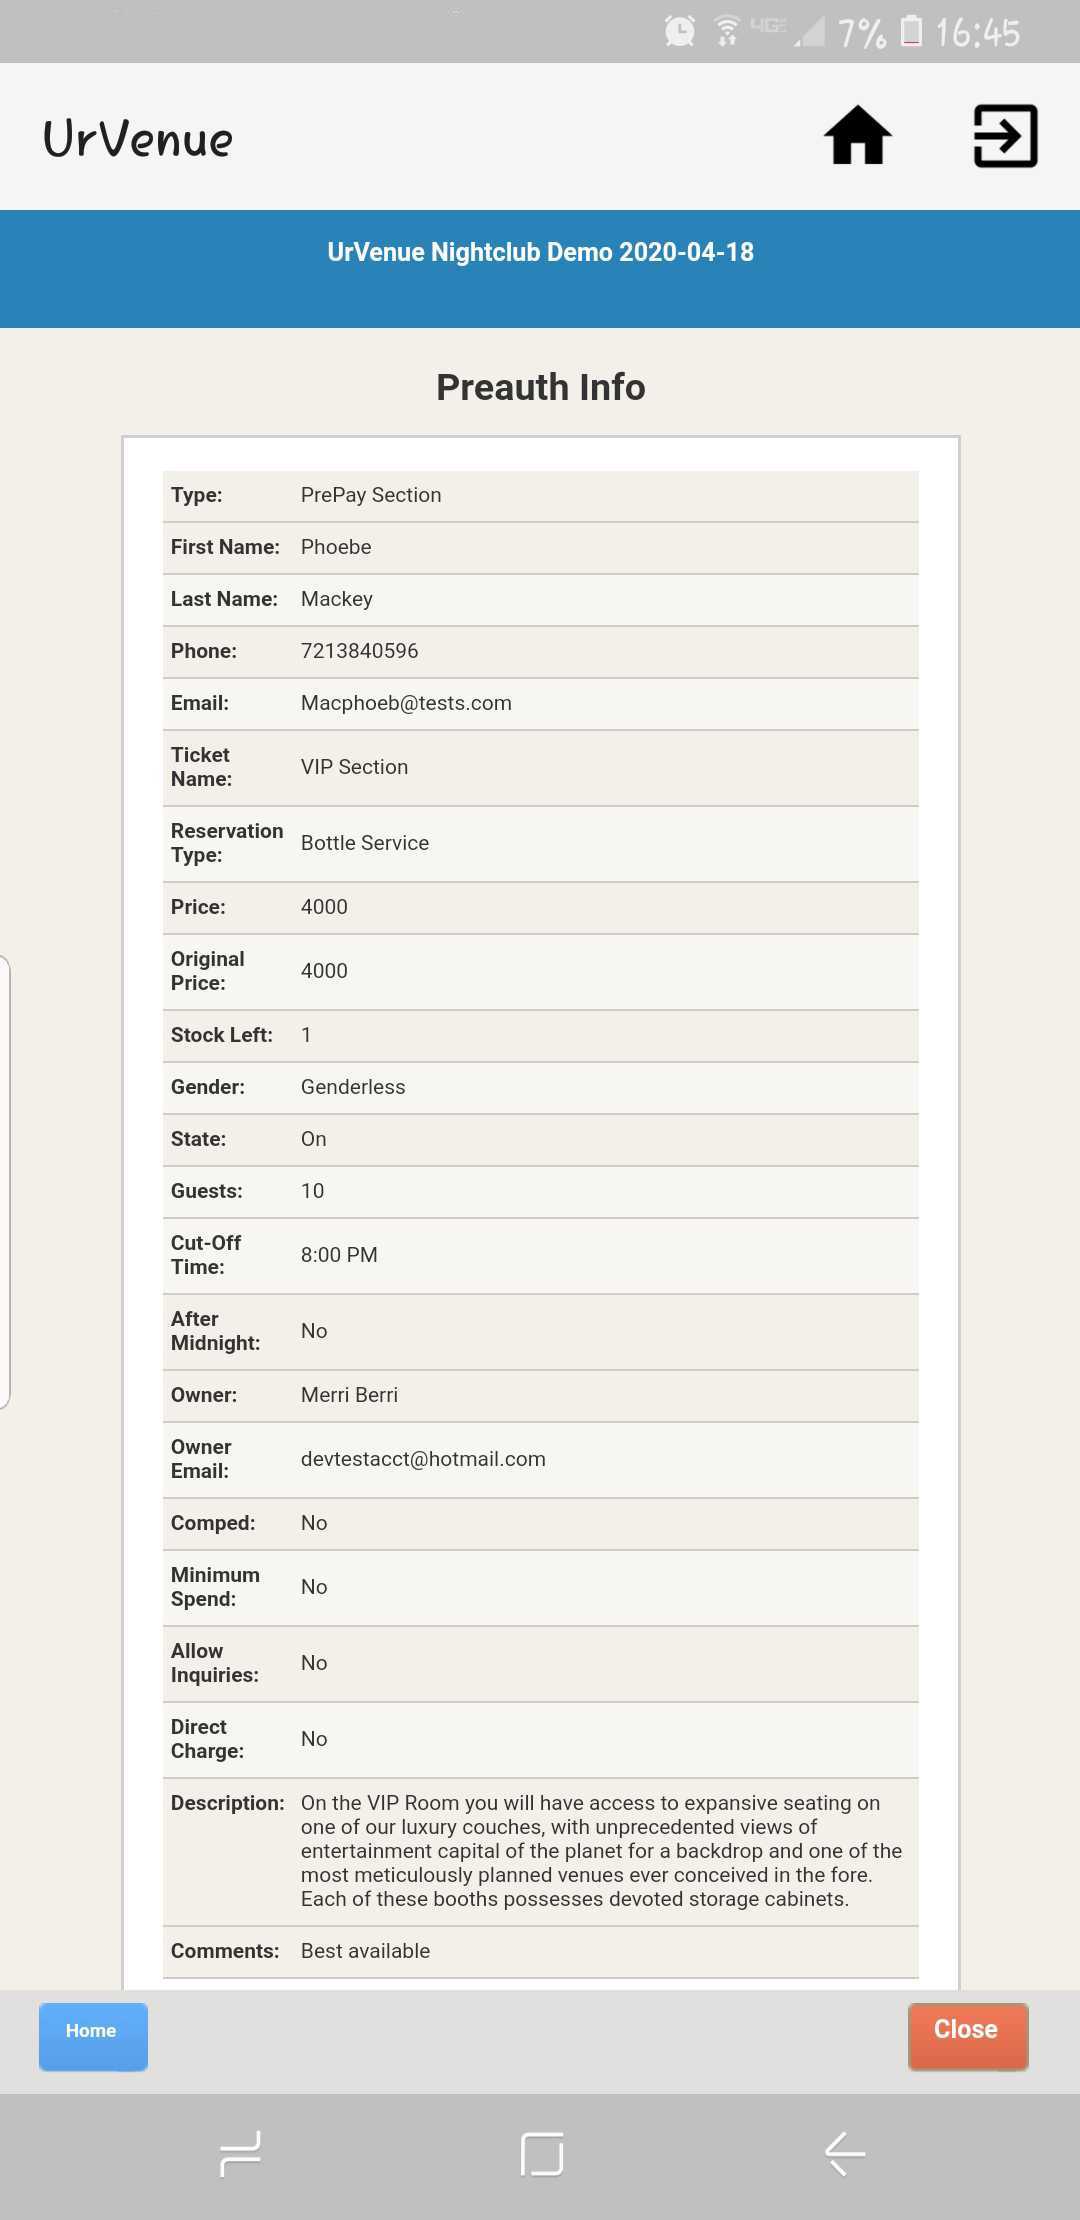
Information: Request Summary. |
 |
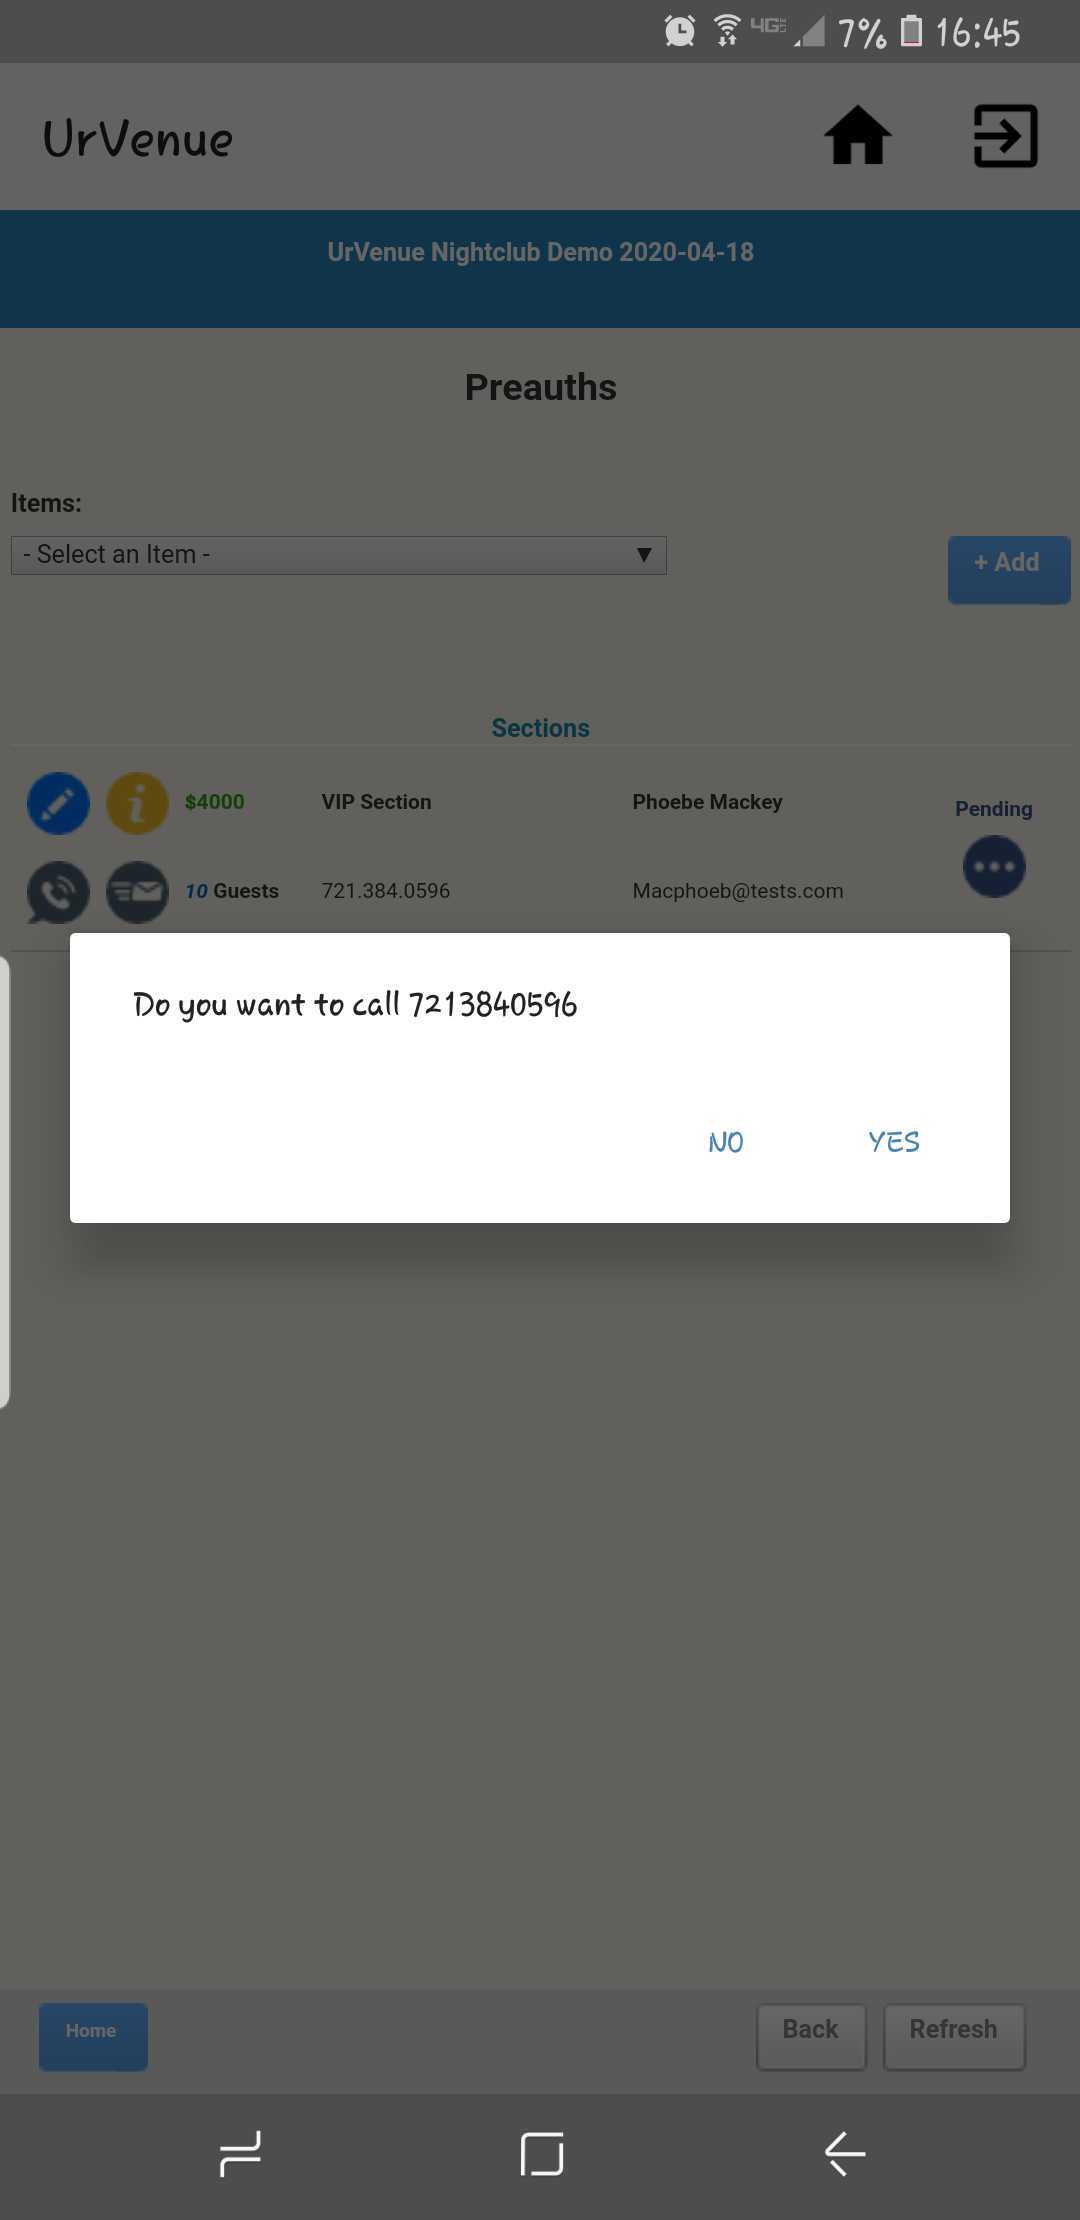
Call: Gives you the option to call the phone number added for the reservation (this opens up your dialer). |
 |
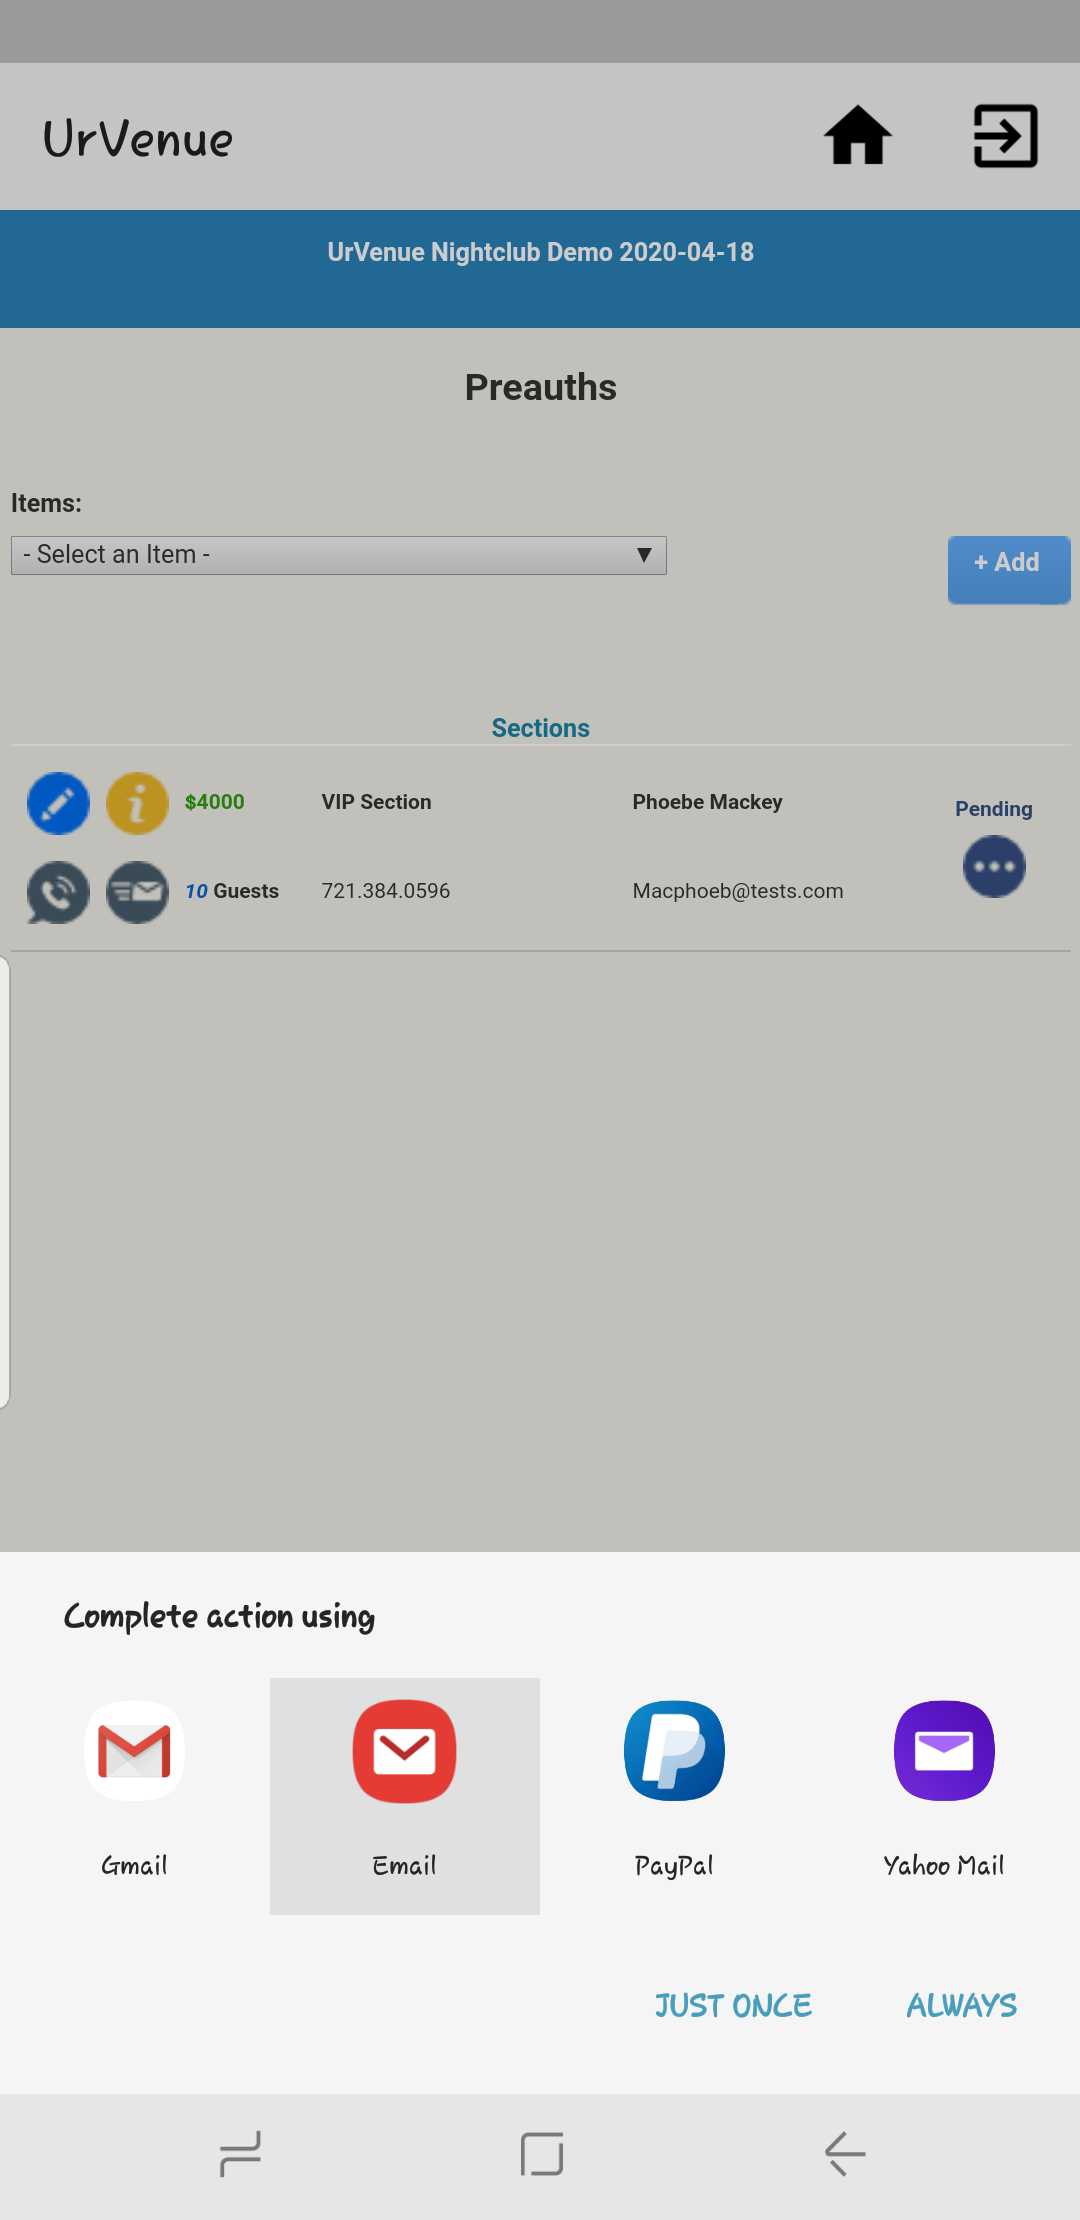
Email: Gives the option to email the address added for the reservation (this opens your selected email application). |
Edit |
Info |
Call |
Email |
|---|---|---|---|
 |
 |
 |
 |
Section 2:
This is the reservation breakdown, details Minimum Spend, Section/Table, Customer Name, Guest Quantity, Phone Number and Email Address.
Section 3:
Status: Here you can see the actual status of your request.
| Icon | Action |
|---|---|
 |
Pending: Request has been submitted but is yet to be reviewed by Management. |
 |
Approved: Request has been approved and sent to the guest. |
 |
Denied: Request has been denied by Management. |
After your reservation has been reviewed, you can see the icon and status name change accordingly:
If the reservation was Approved by Management, the icon next to the reservation will change (see above), you will be notified about the approval, and also the customer will receive an email containing a link to fill out the online form, but you will too be able to resend if necessary. If you click on the Approved icon you will be able to resend the link either via email or SMS to the guest.
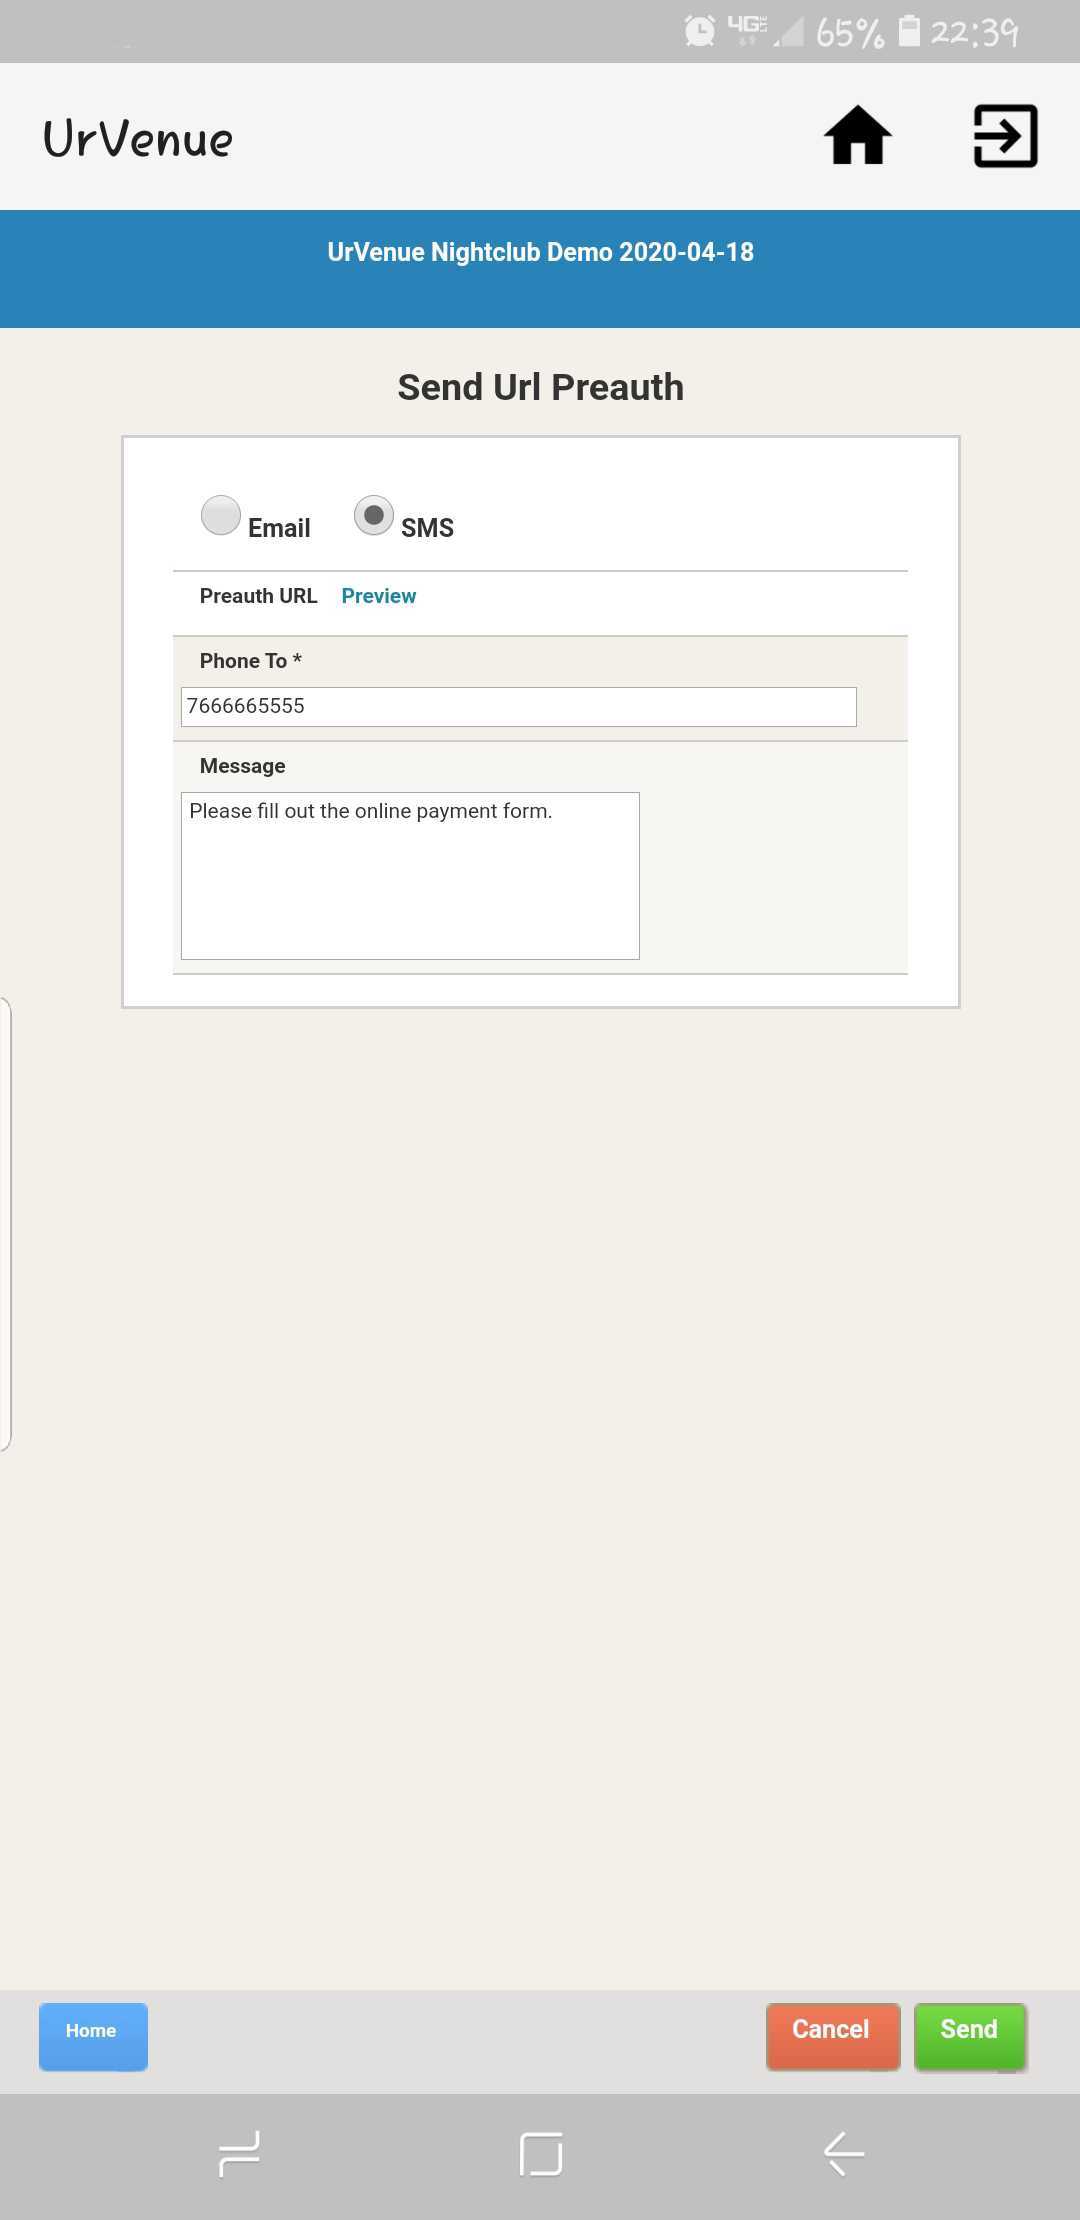
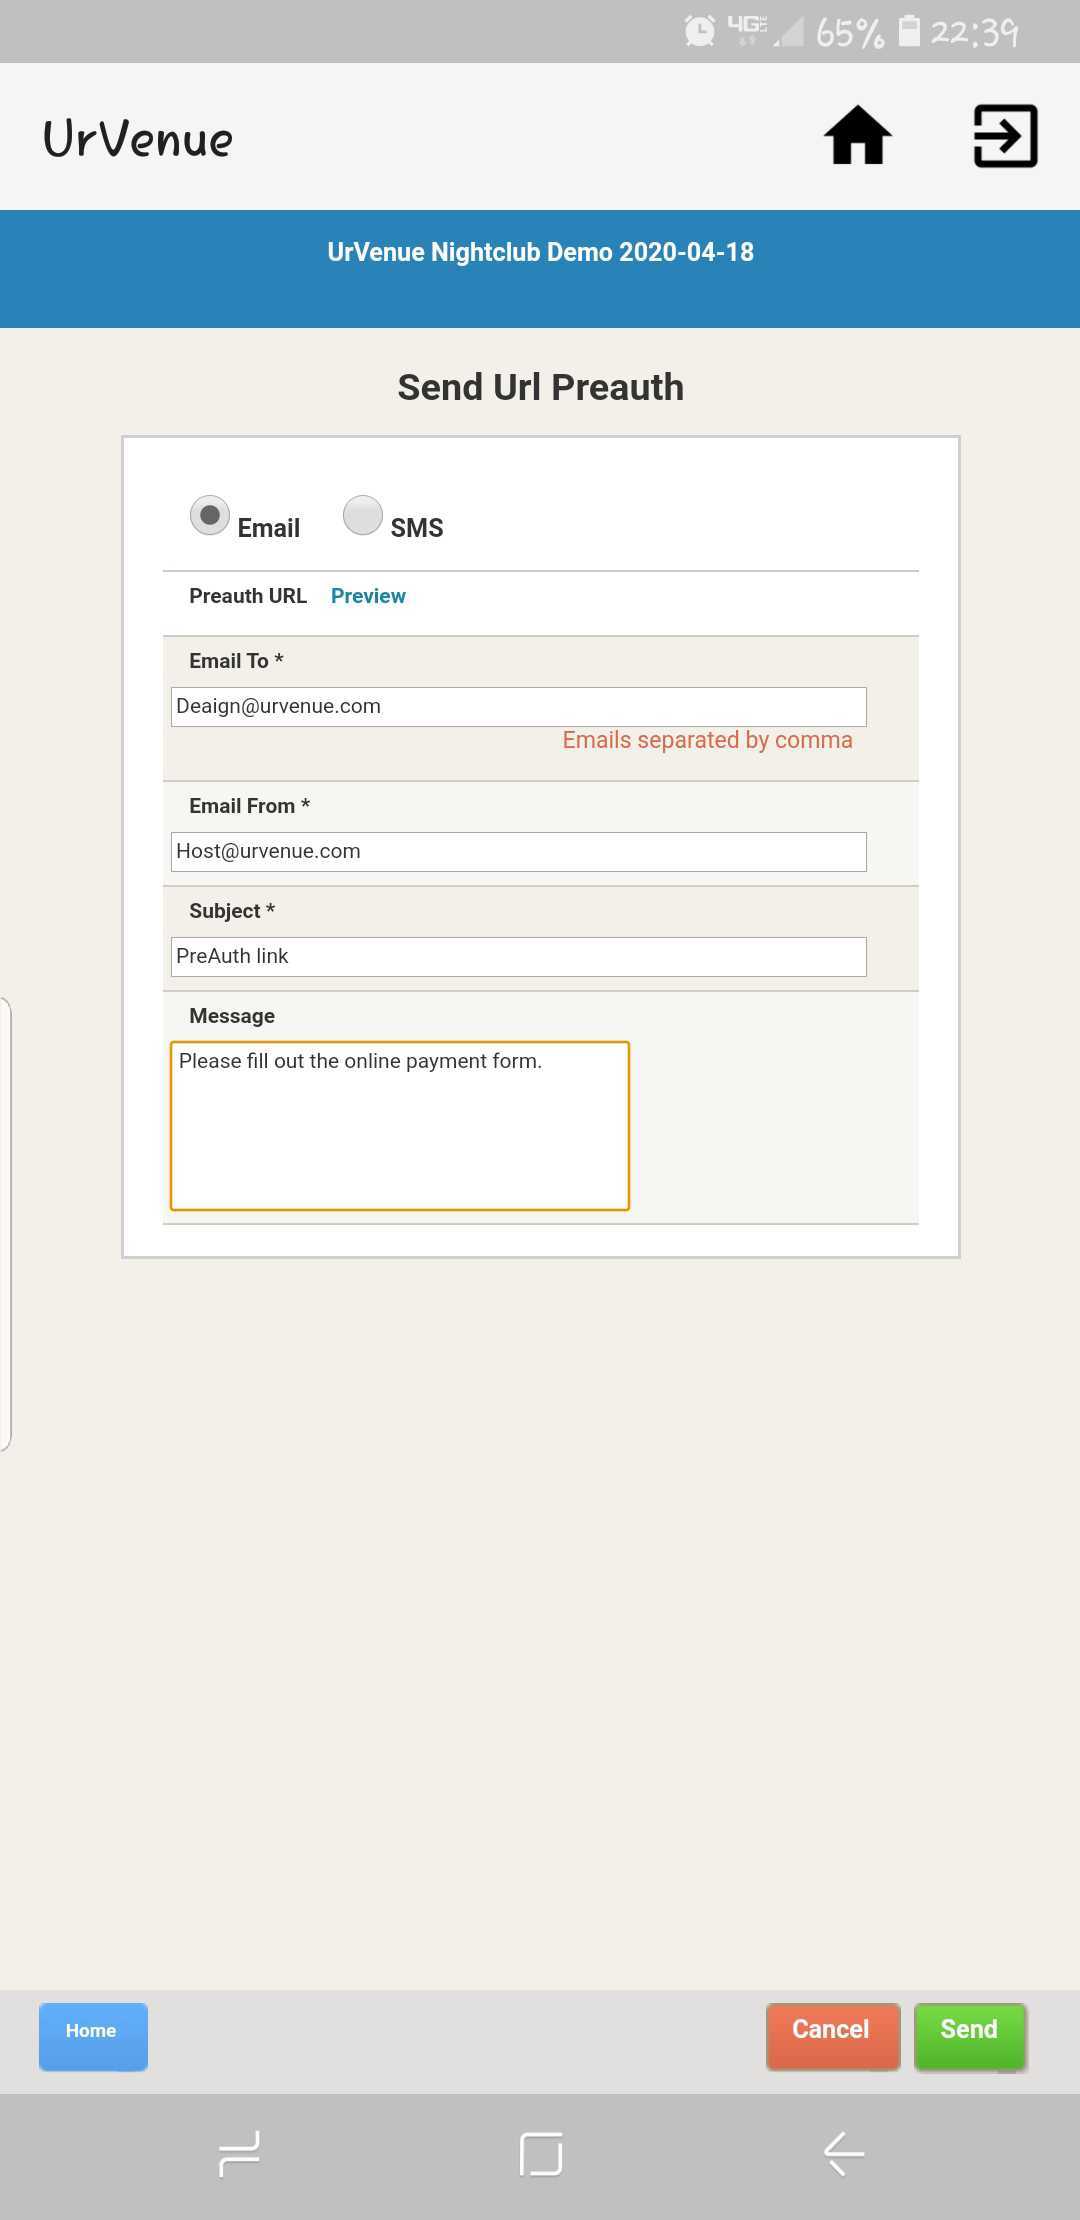
This is an example on resending via SMS (left) and email (right):
| SMS | |
|---|---|
 |
 |
For SMS submission the guest's phone number will populate automatically, and you must only enter the message that will be sent to the guest, the link is added automatically as well so there's no need for you to write it down on either notification.
For Email submission you must enter: the email address(es) you would like to send it to (the one entered automatically is the one present on the form), the from email (this is the address that will display as sender on your customer's mail), the mail subject, and a message (if desired, customer will still receive the preset text below the message you enter).
After filling information on either form of communication click on Send.
This is an example of the notification that the customer would receive after you send it via SMS:

This is an example of the notification via email, as you can see below the message, there is the preset text prompting customers to click on the link to fill their form:
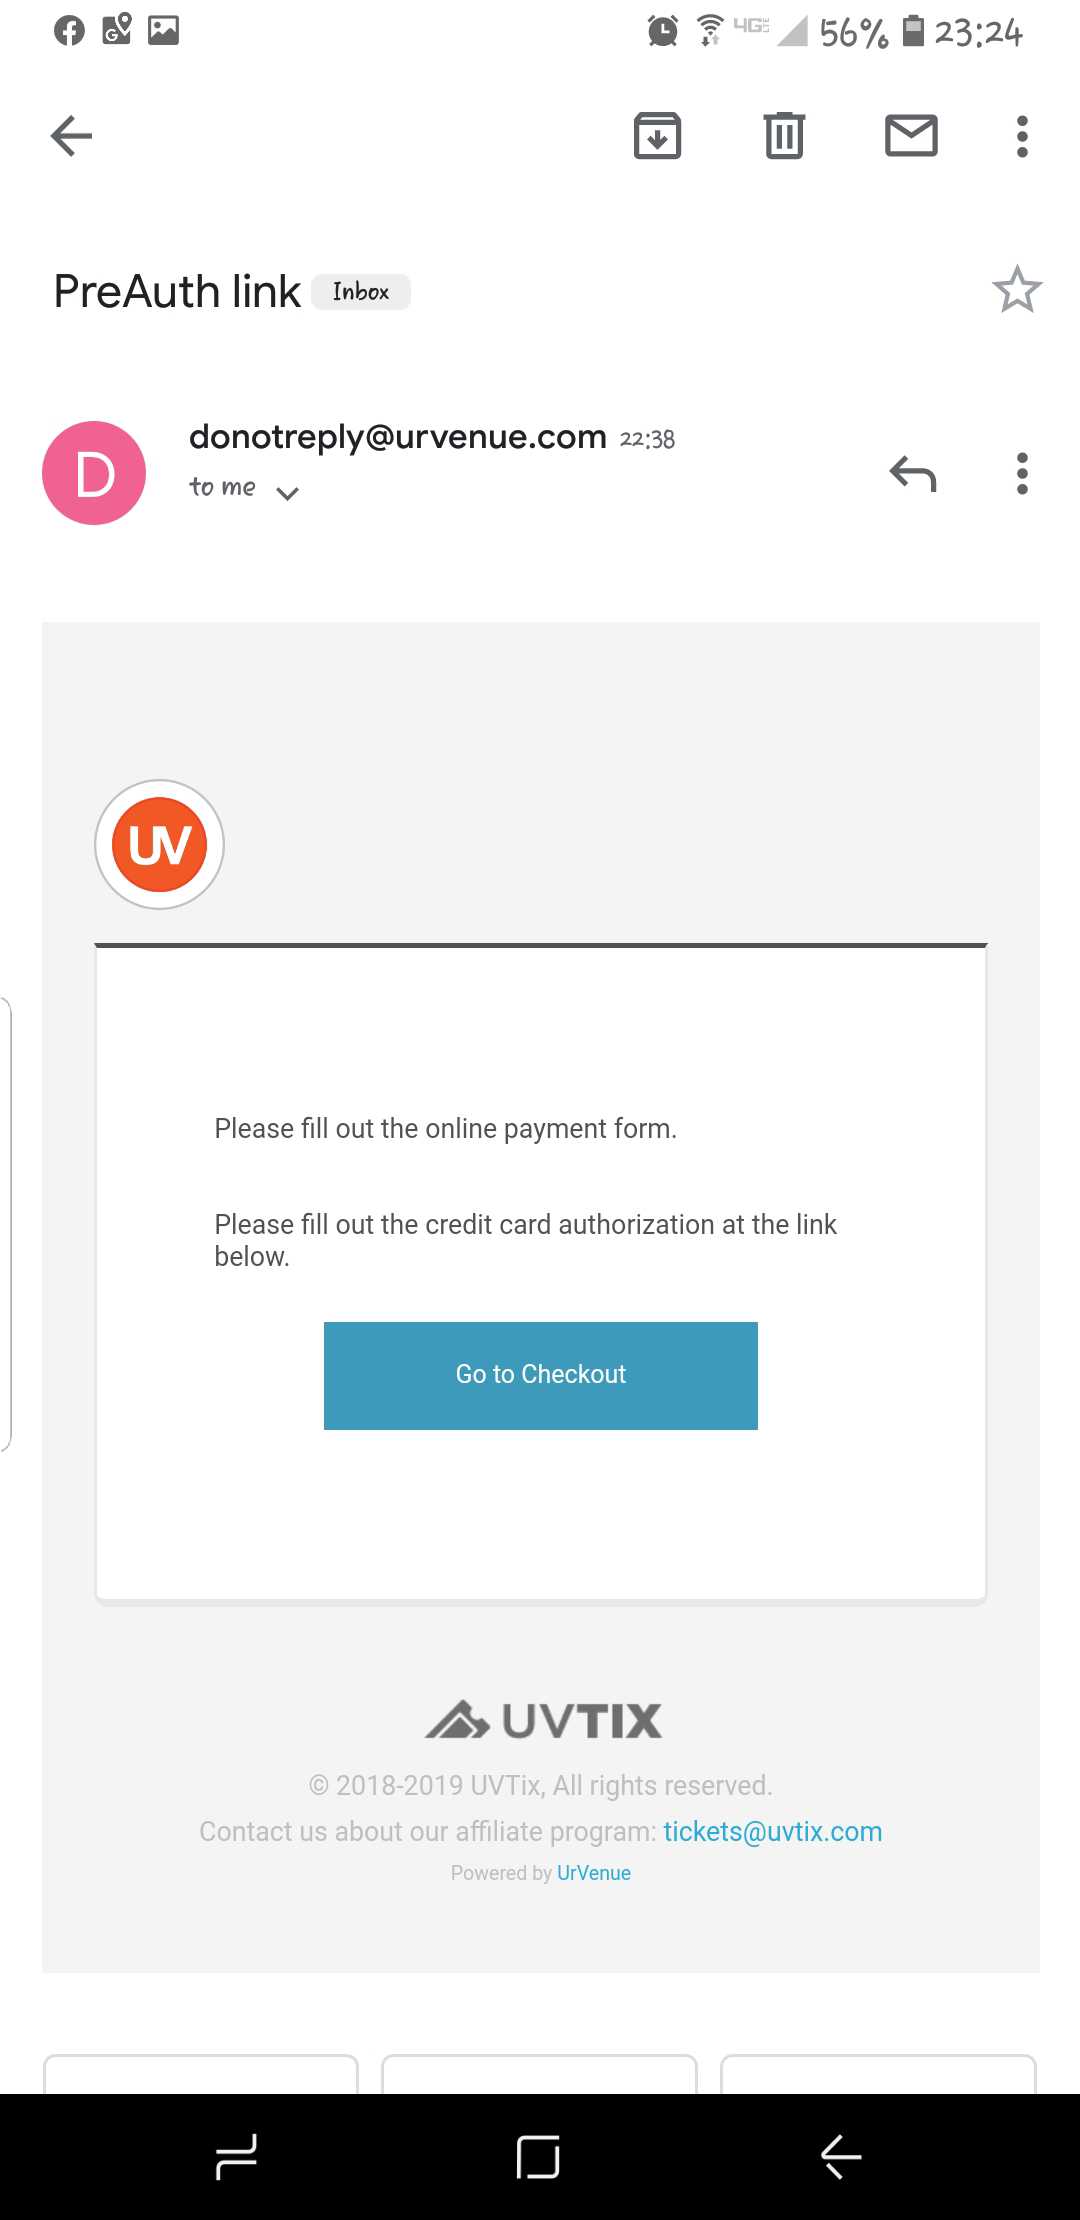
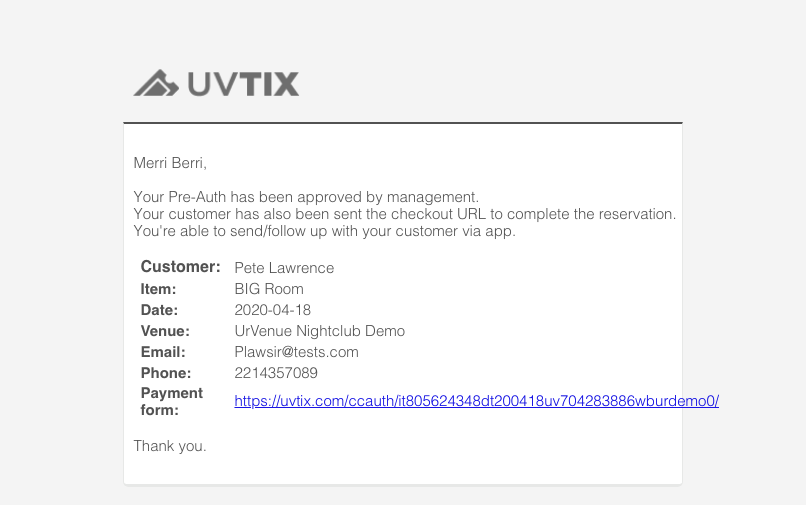
When your request is approved you receive an email with all of your customers information, as well as the link to the form:
In the event that your request is denied, your customer will not get an email, only you will have a notification on this including the reason that the Management team entered for it:
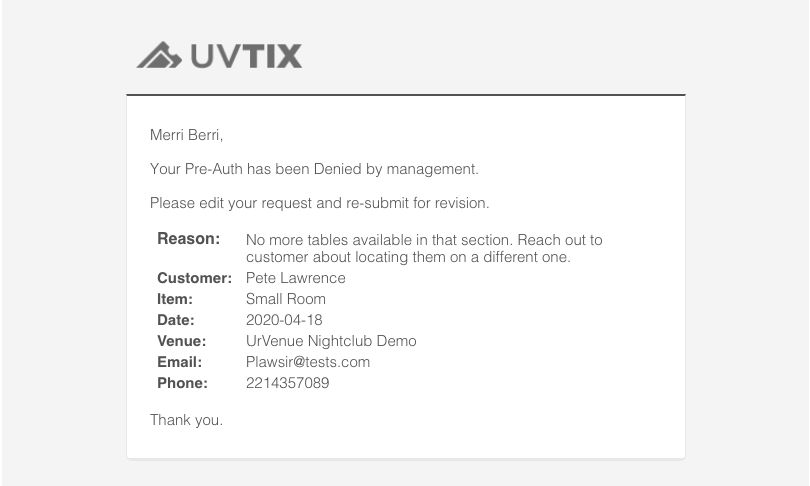
If a Pre-Auth request is denied you can still modify and resend for approval, depending on the denial reason, it doesn't get removed from your request list.